

- Drawn by hand — with the zone tool, described below.
- The AI assistant — every room the assistant builds arrives with a named zone, so “add a bedroom” gives you a Bedroom zone for free. See AI assistant.
- Pre-built rooms — dropping a room preset from the Build tab’s Pre-built rooms places its zone along with the walls and furniture.
- Captured scans — importing an iPhone scan creates a zone for the captured room. See Capture.
Draw a zone
PressZ (or use the + on Rooms in the Scene tab) and outline the area:
- Click to place the first corner.
- Keep clicking corners around the area — corners follow the active snapping
mode, the same chip the wall tool shows (
Shiftcycles it). - Click your first corner again, or double-click anywhere, to close the polygon.
Esc leaves zone mode.
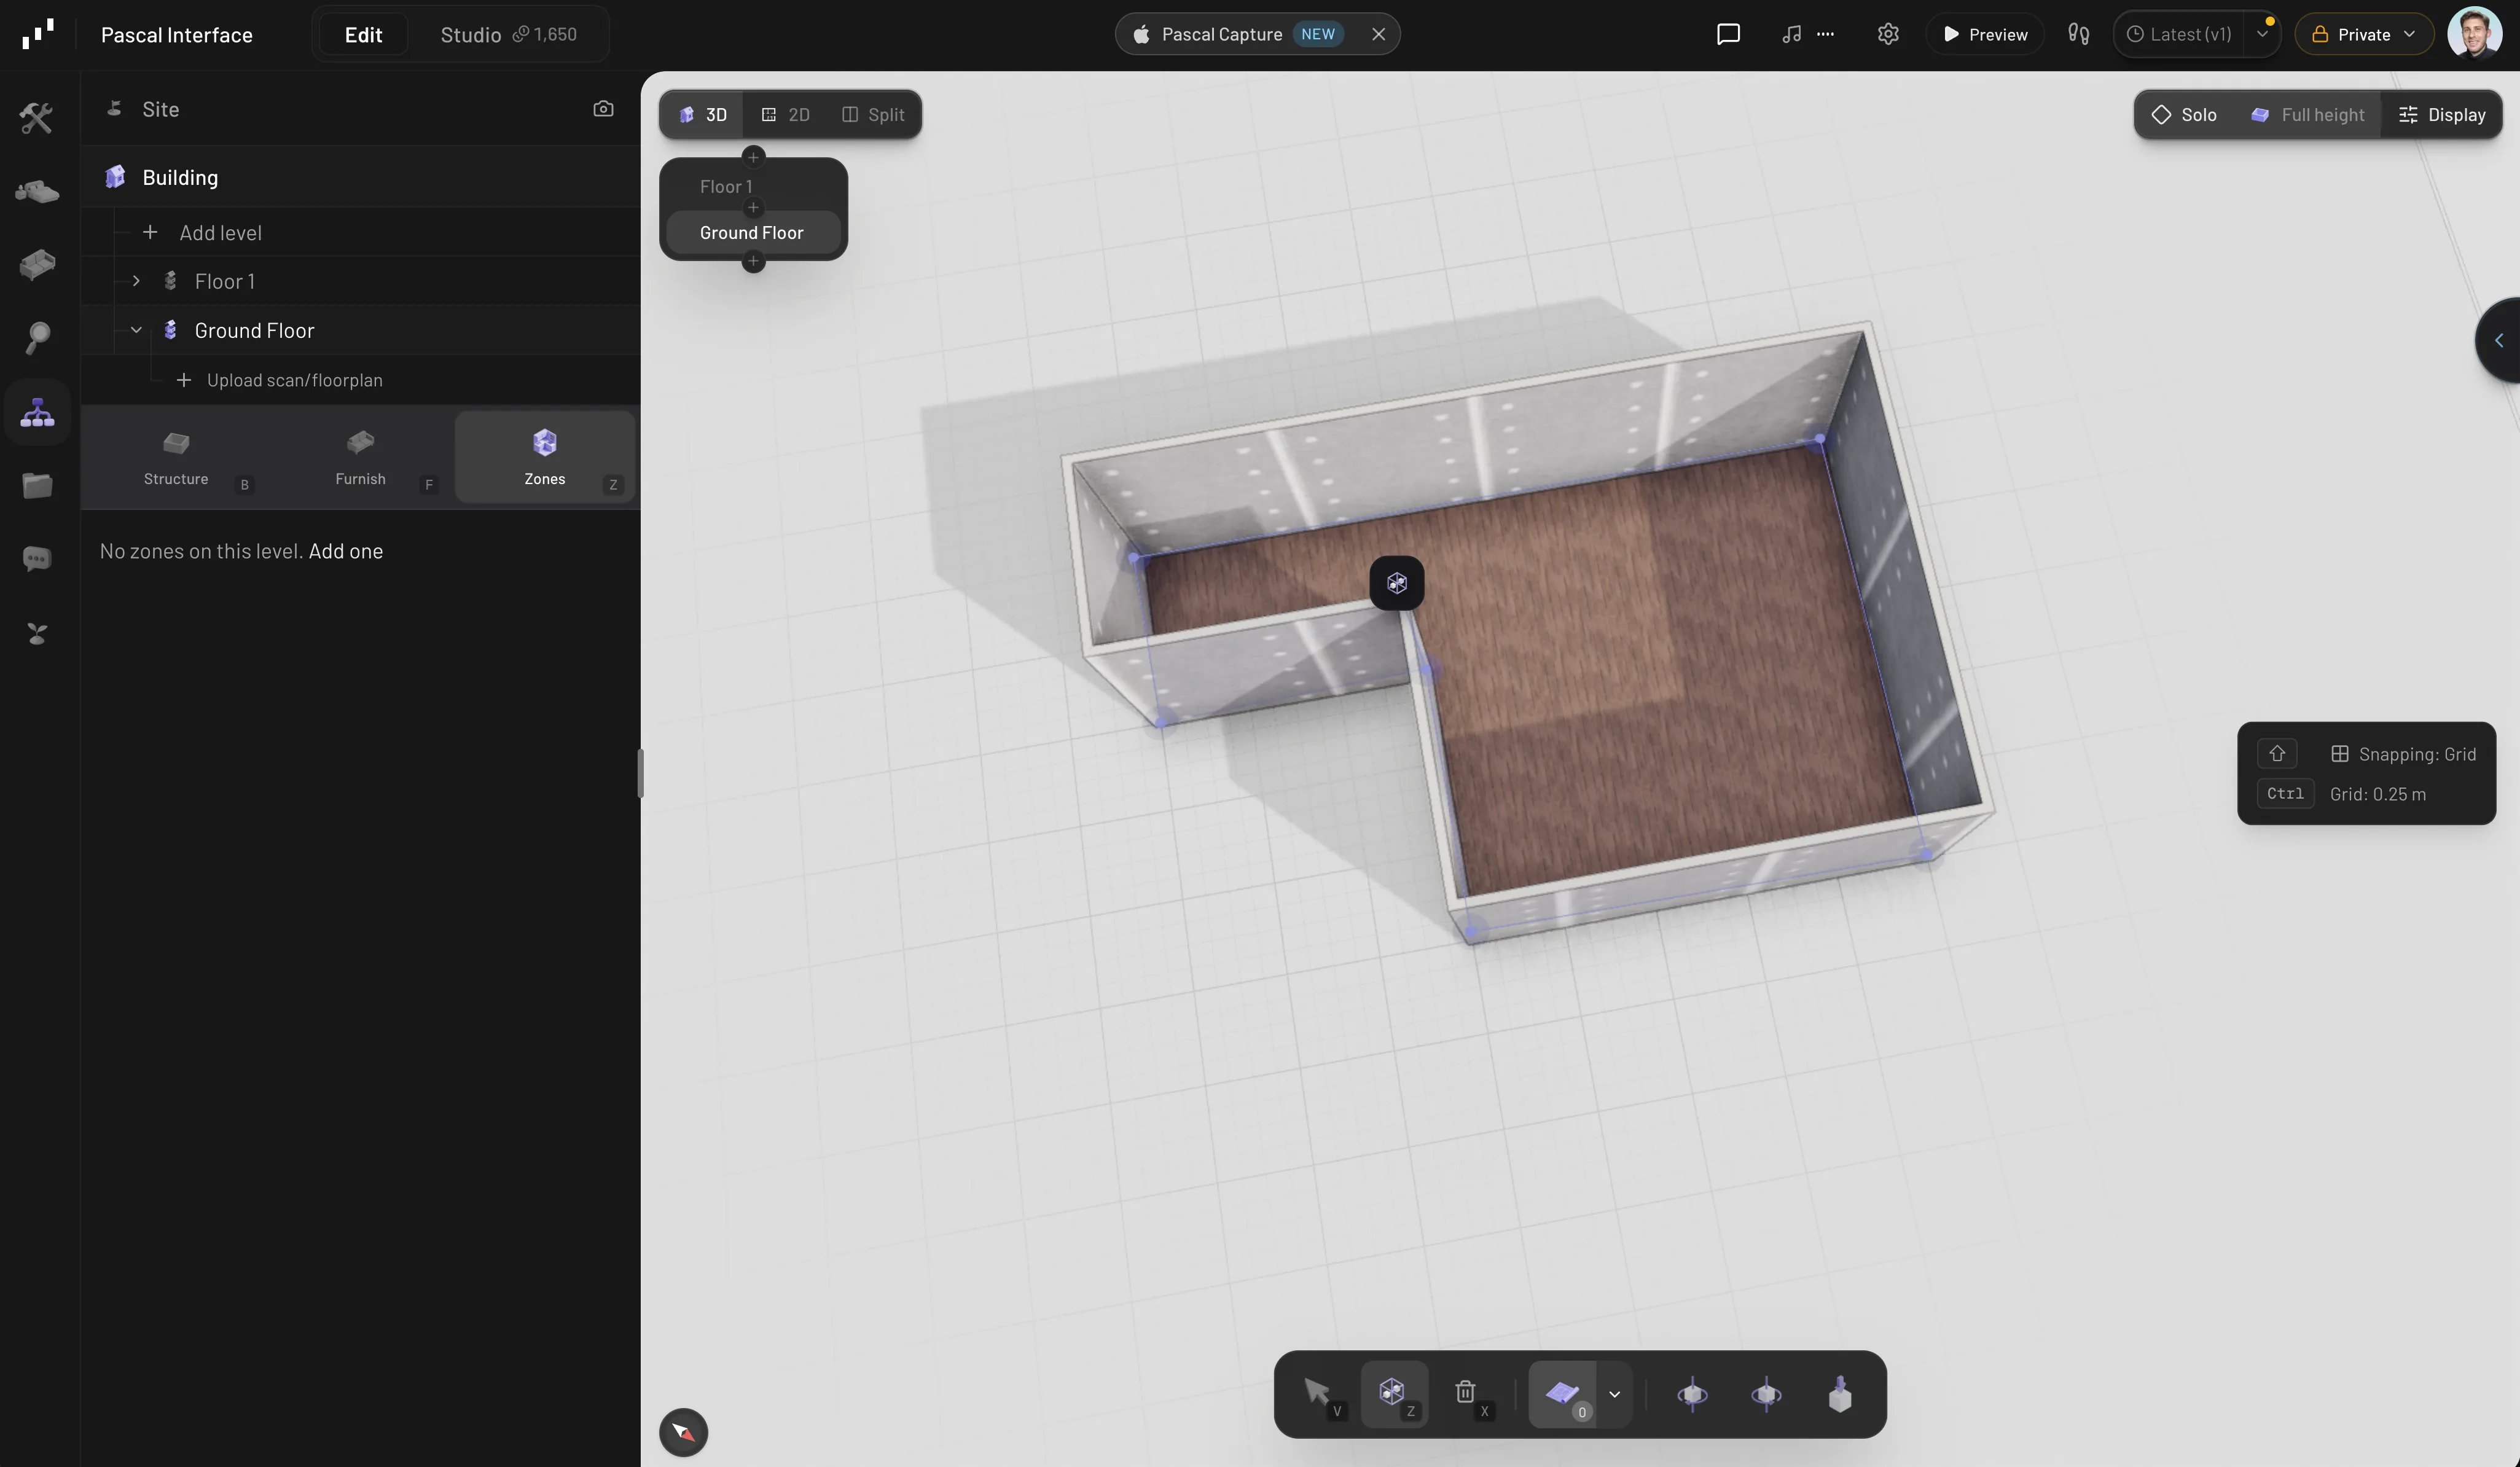
Drawing a zone around a room
Room labels in the scene
With nothing selected, each room and zone on the active level shows a small label — in 3D and on the floor plan alike: a dot in its color, its name and its area (in m² or ft², after your unit setting). Hover a label to highlight the room (or a drawn zone’s outline), click it to select it — the same as clicking the room’s floor.Shift adds the zone to the selection and Alt picks the
zone itself instead of the room. Where labels would overlap, the nearer (in the
plan, the larger) room keeps its label. They step aside as soon as you select
something or start a tool.
Every new room gets a color of its own when it’s created; pick a color in the
room’s panel to set another. Rooms you already had keep their color.
Rename a zone
In the Scene tab’s Rooms list, hover a room and use the pencil to type a new name —Enter saves.
Manage zones in the Scene tab
The Scene sidebar tab lists the active level as Units, then Rooms, then Elements. Rooms holds every zone on the level:- The color dot changes the zone’s color — the tint used for its label, floor plan polygon, and highlight.
- The camera button stores a viewpoint per room: Take snapshot saves the current camera angle on the zone, View snapshot flies back to it later.
- The trash button deletes the zone.
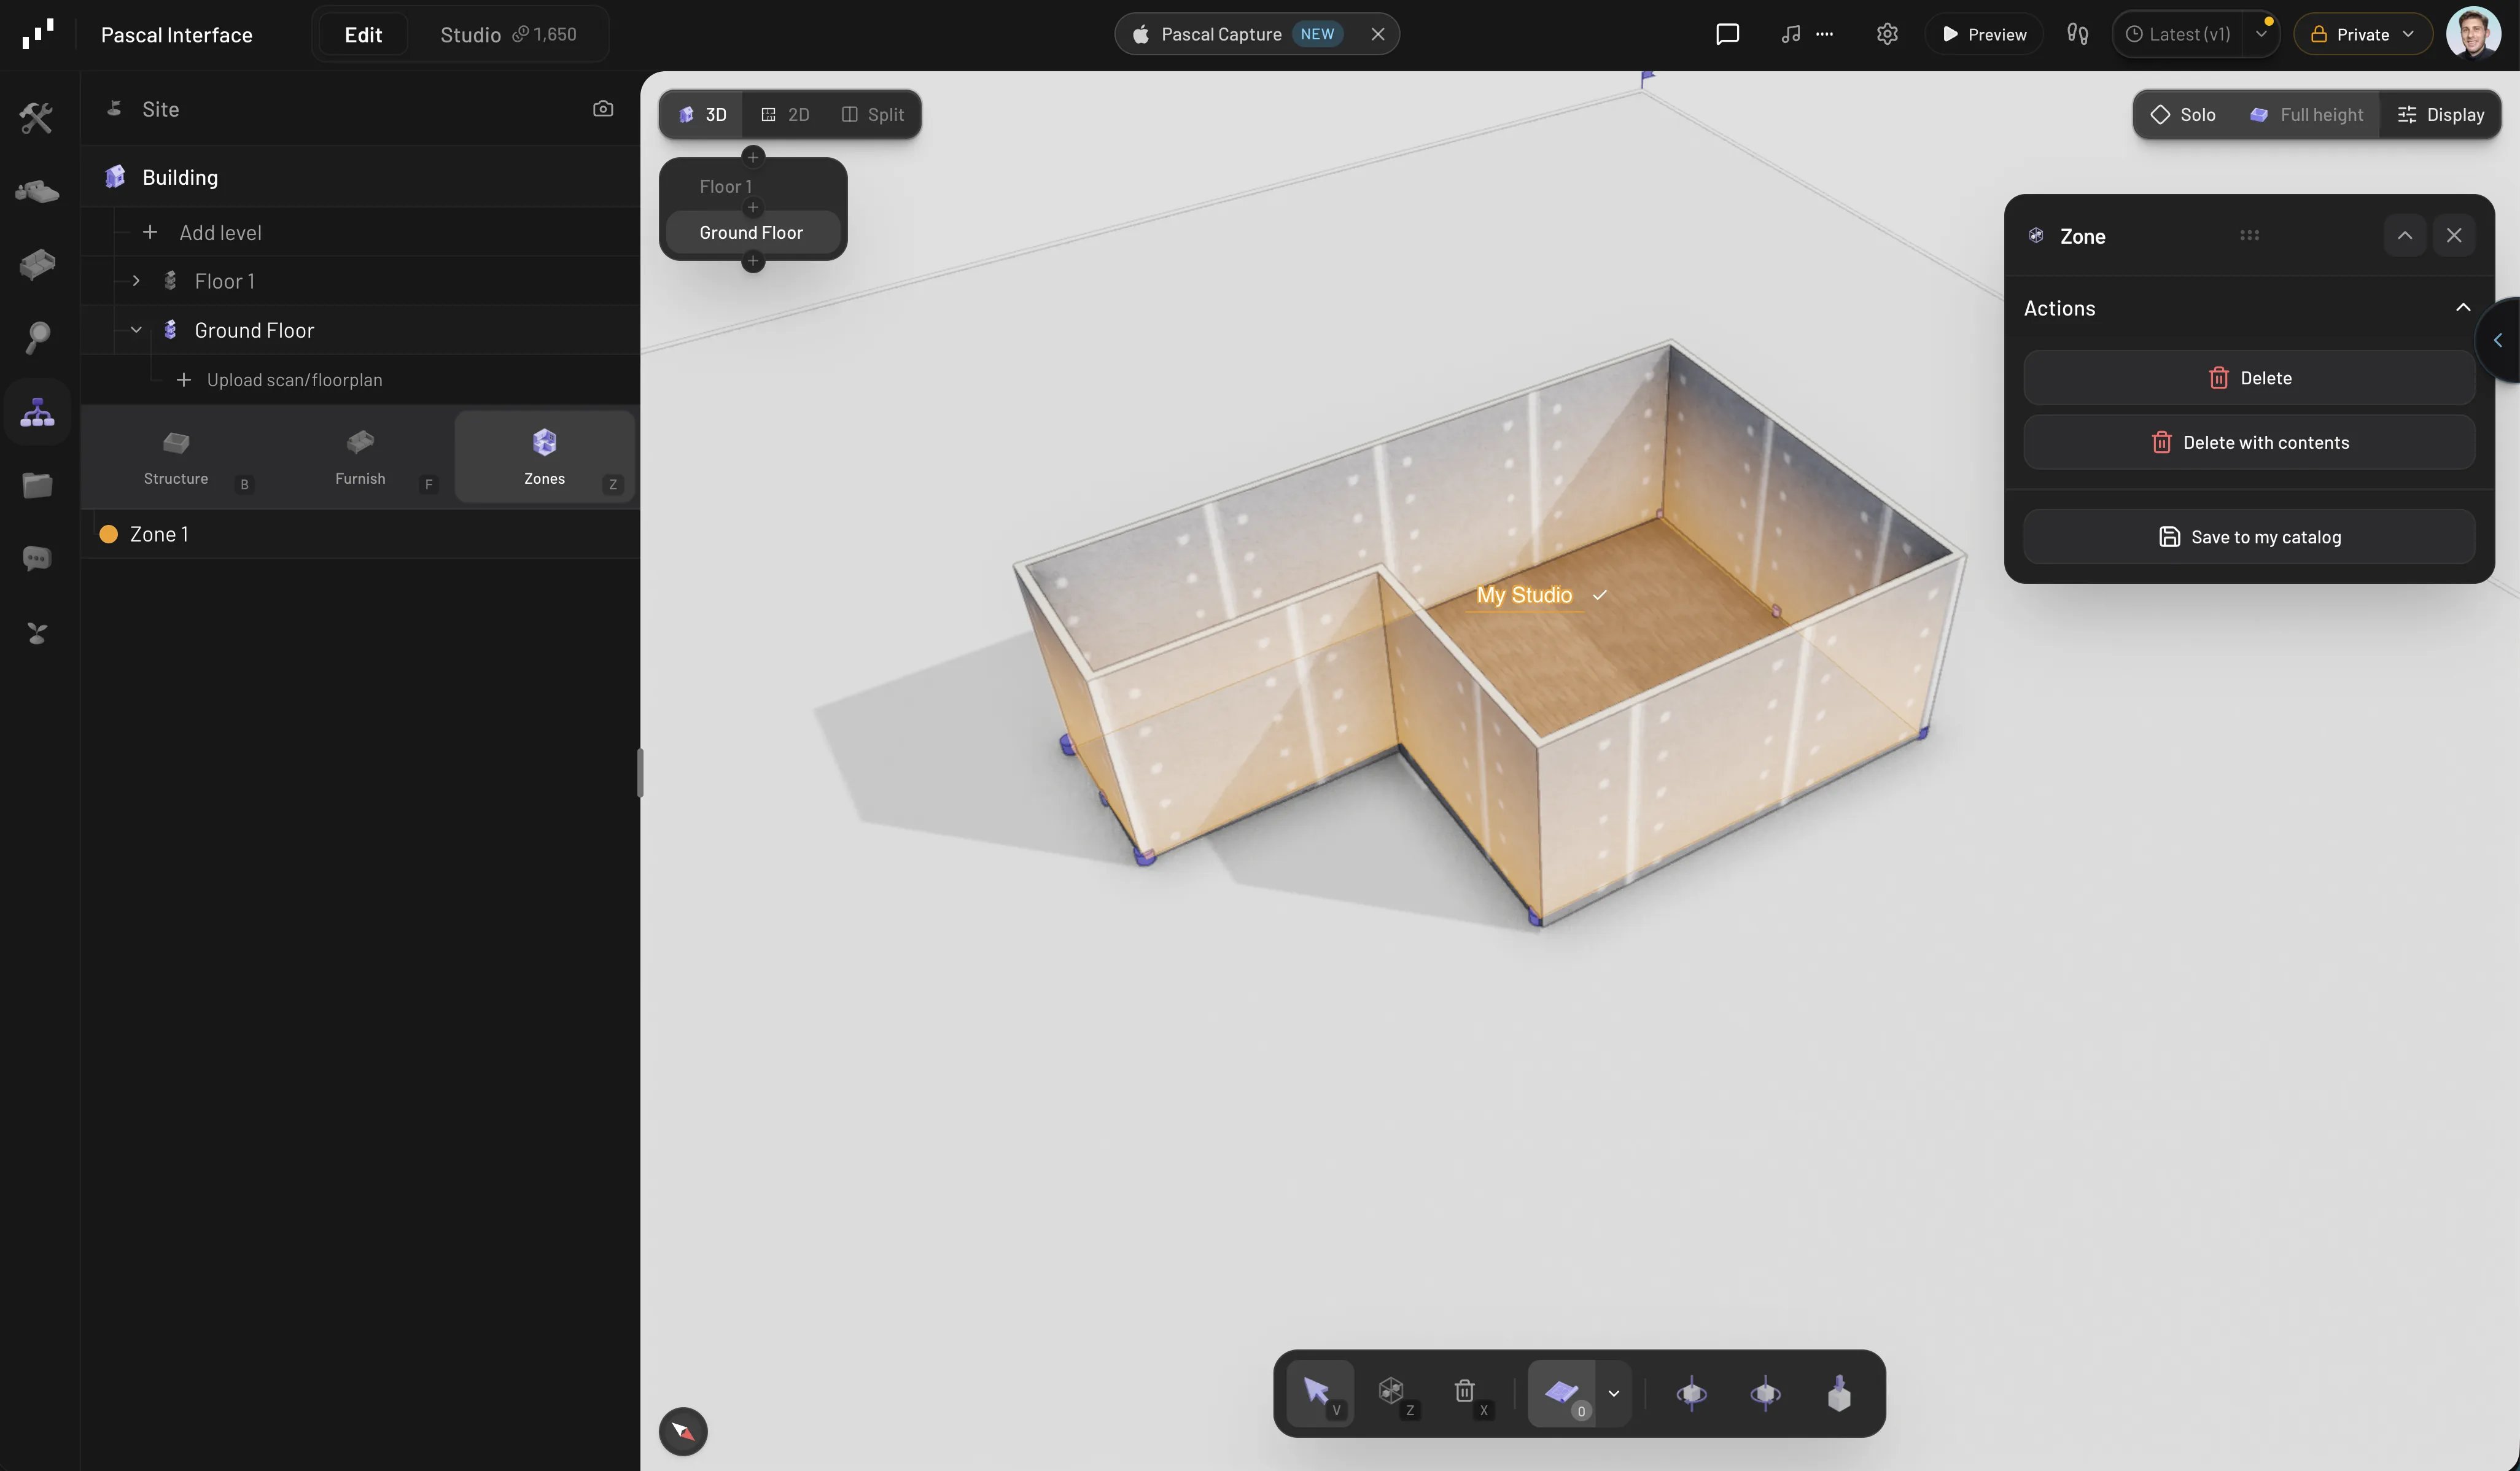
The Rooms list in the Scene tab
- Save to my catalog — saves the zone and everything inside it (walls, floor, furniture) as a reusable room preset, available under Pre-built rooms in the Build tab.
- Delete removes just the zone marker; Delete with contents removes the room’s walls, floor, ceiling, and items along with it.
X), clicking a room
label removes the zone, and Delete removes the selected zone.
Zones in the viewer and walkthrough
Zones are where naming pays off. When someone opens your shared project:- Pick a floor in the Levels list and every room on it shows a pill with its name and area, the same pills as in the editor — the map of your building. Under the floor, the list also names its units, rooms and other zones; clicking one selects it and flies the camera to it.
- Clicking a room’s floor or wall selects the room; click its wall again to select the wall itself. Clicking an item selects the item, and the breadcrumb still names the room it sits in — for example Ground floor › Kitchen › Sofa. Click the room in the breadcrumb to select it and frame it. Clicking empty space clears the selection and keeps the floor.
- The editor’s Preview works the same way, and leaving it puts your editing selection back as it was.
- In the first-person Walkthrough, the HUD pins the current level and room name at the top of the screen and updates as you cross from room to room.
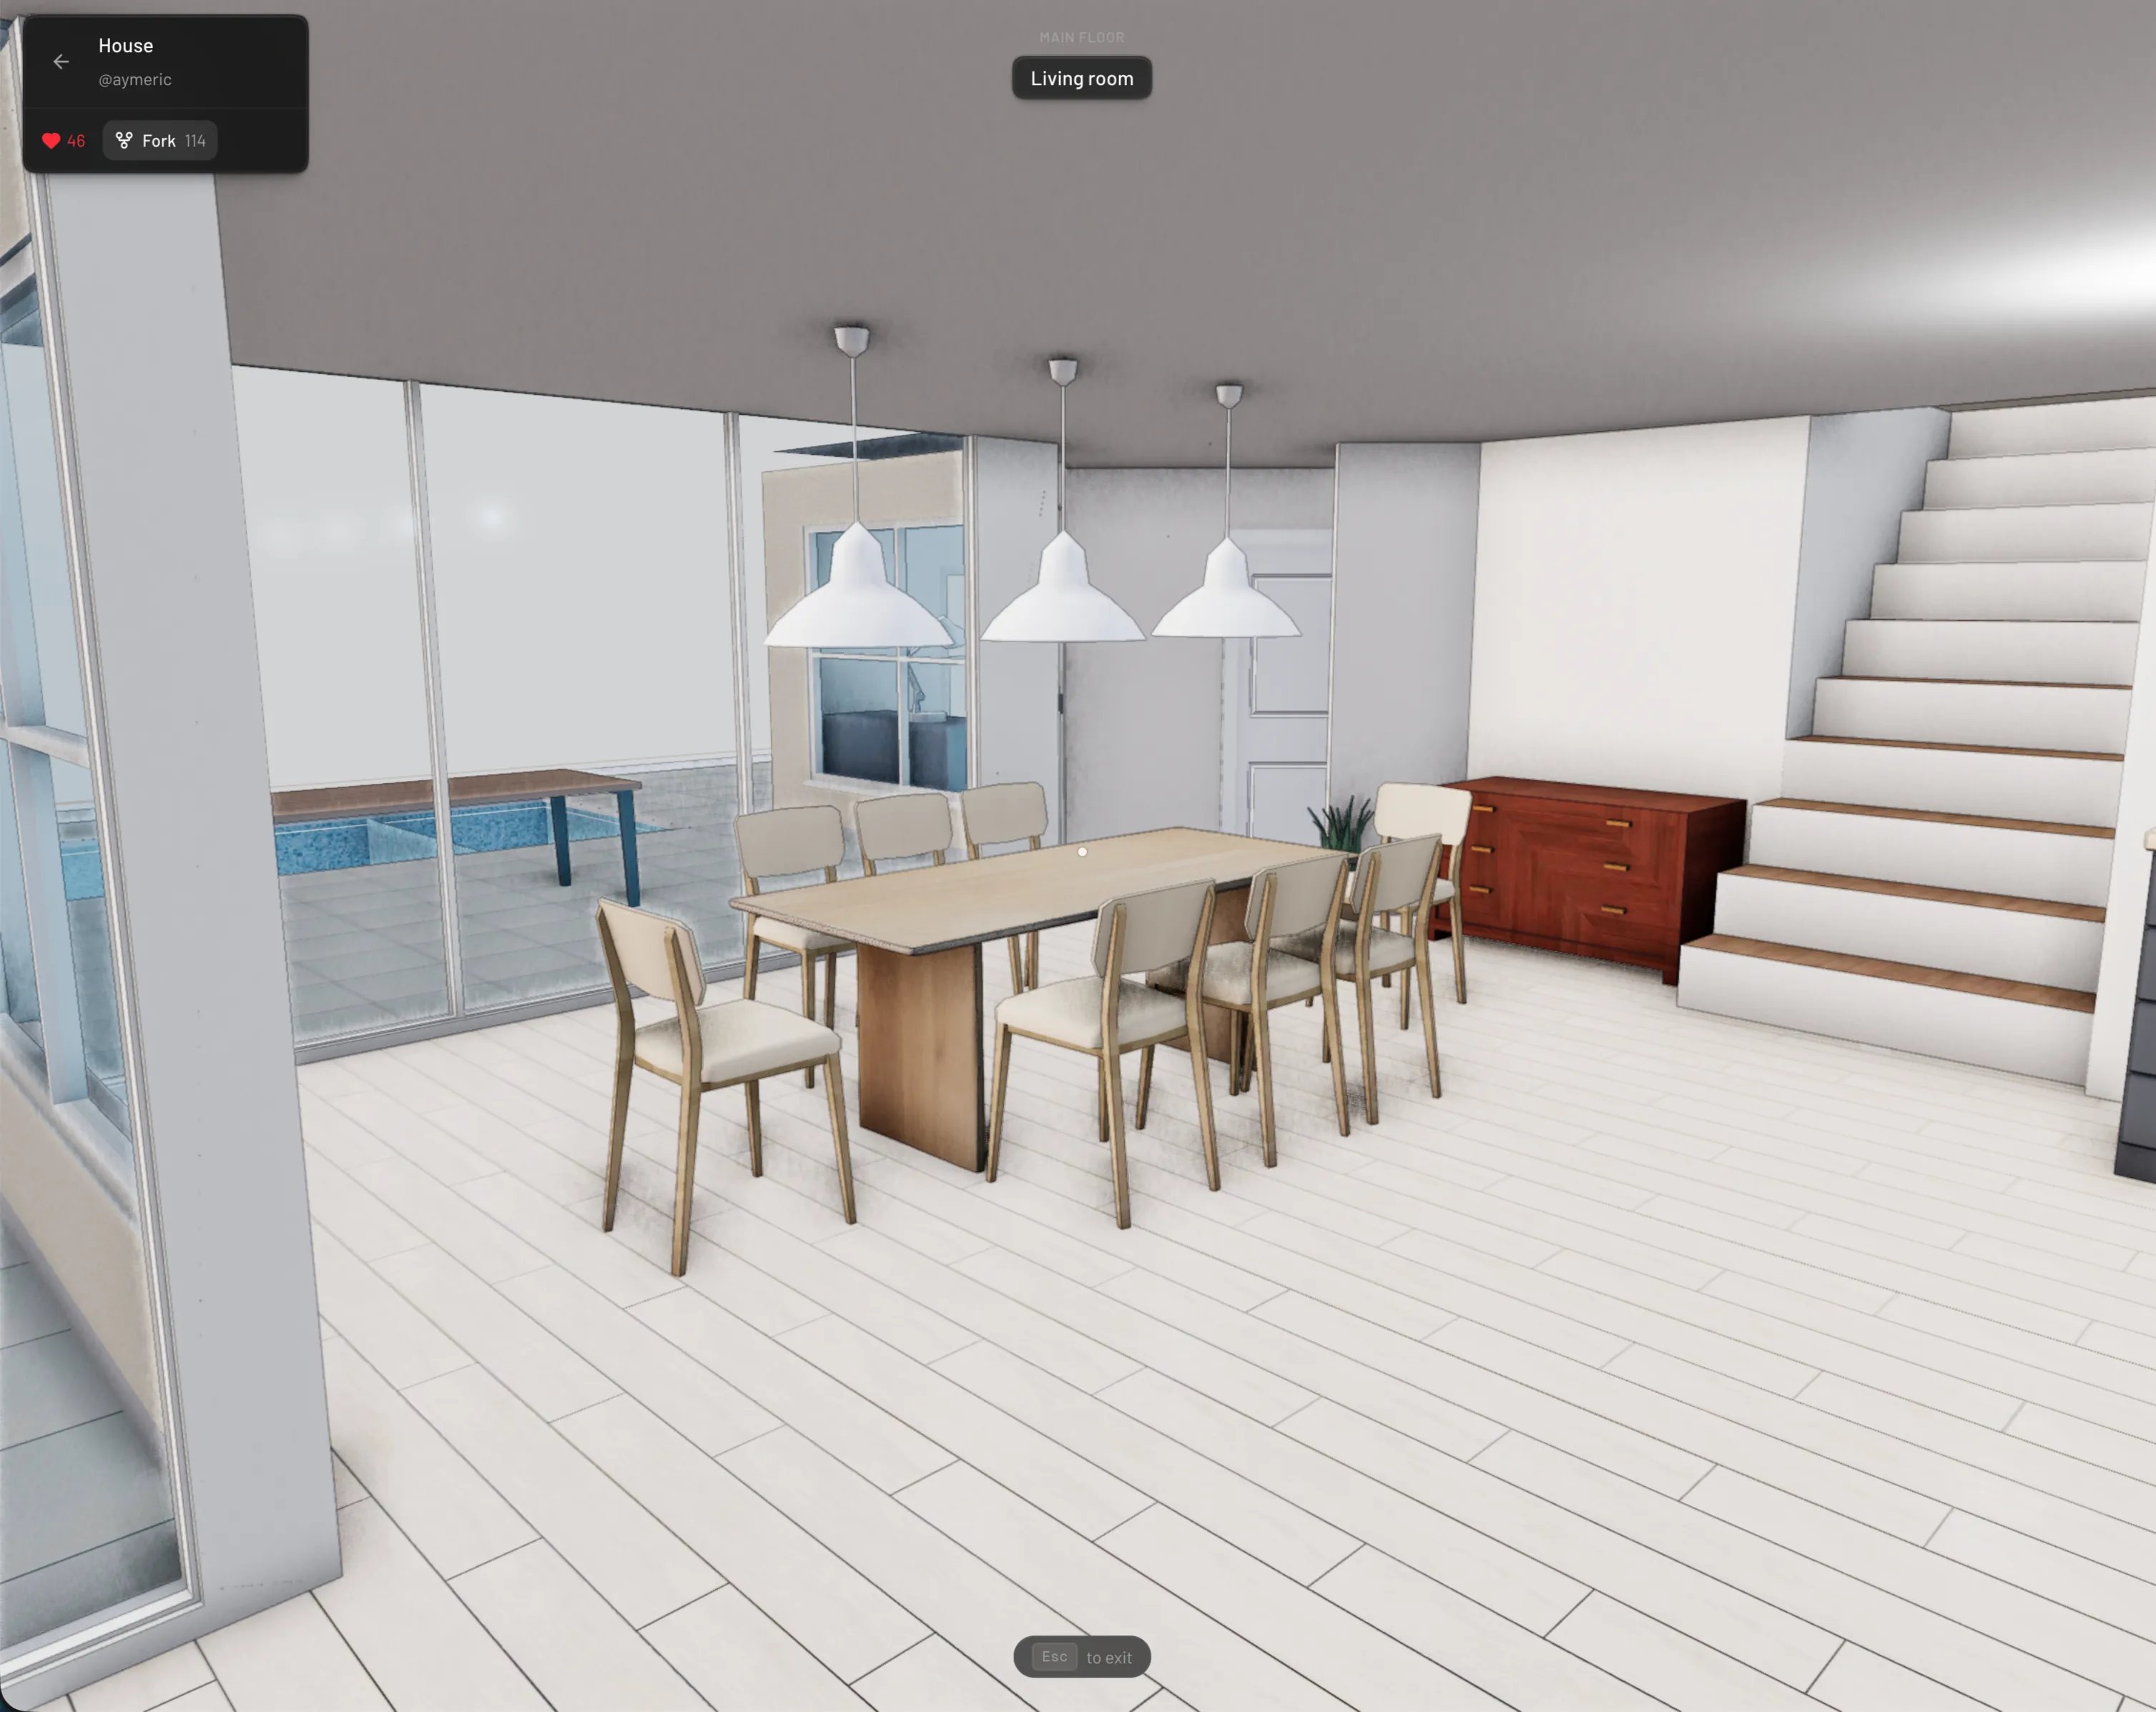
The walkthrough HUD naming the room you're in