

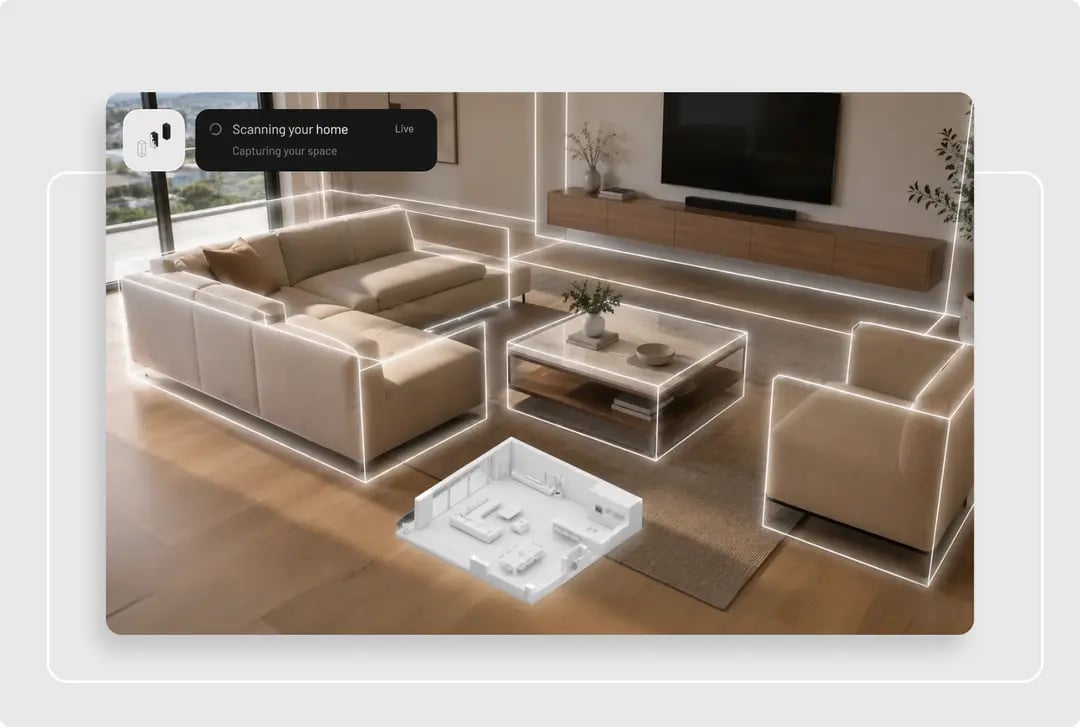
Scanning a room with Pascal Capture
Get the app
Pascal Capture is free on the App Store. It’s iOS-only — room scanning is built on Apple’s RoomPlan framework, which needs a LiDAR sensor:- iPhone 12 Pro / Pro Max or later — Pro models only
- iPad Pro 11″ (2nd generation, 2020) or later, and iPad Pro 12.9″ (4th generation, 2020) or later
- iOS or iPadOS 17 or later
Scan a room
Tap New scan — the capsule fixed at the bottom right of both the Projects list and a project’s own page. The scanner opens straight away; there’s no form to fill in first. Where the scan lands depends on where you started. From a project, it goes to the level you were looking at. From the Projects list, Capture creates a project for it once the scan succeeds — so starting a scan and then backing out leaves nothing behind. The scanner opens as a camera view, and you drive it with the shutter in the middle:- Tap the shutter to start capturing.
- Walk slowly around the room. Walls, doors, windows, and furniture are picked up as you go. The scanner works best in good light with visible furniture or edges to track against.
- Tap the shutter again to pause — useful for moving between rooms or repositioning yourself. Tap once more to resume. You can pause and resume as often as you like.
- When you’re done, tap End scan at the top right. It appears once there’s a processed segment to finish.
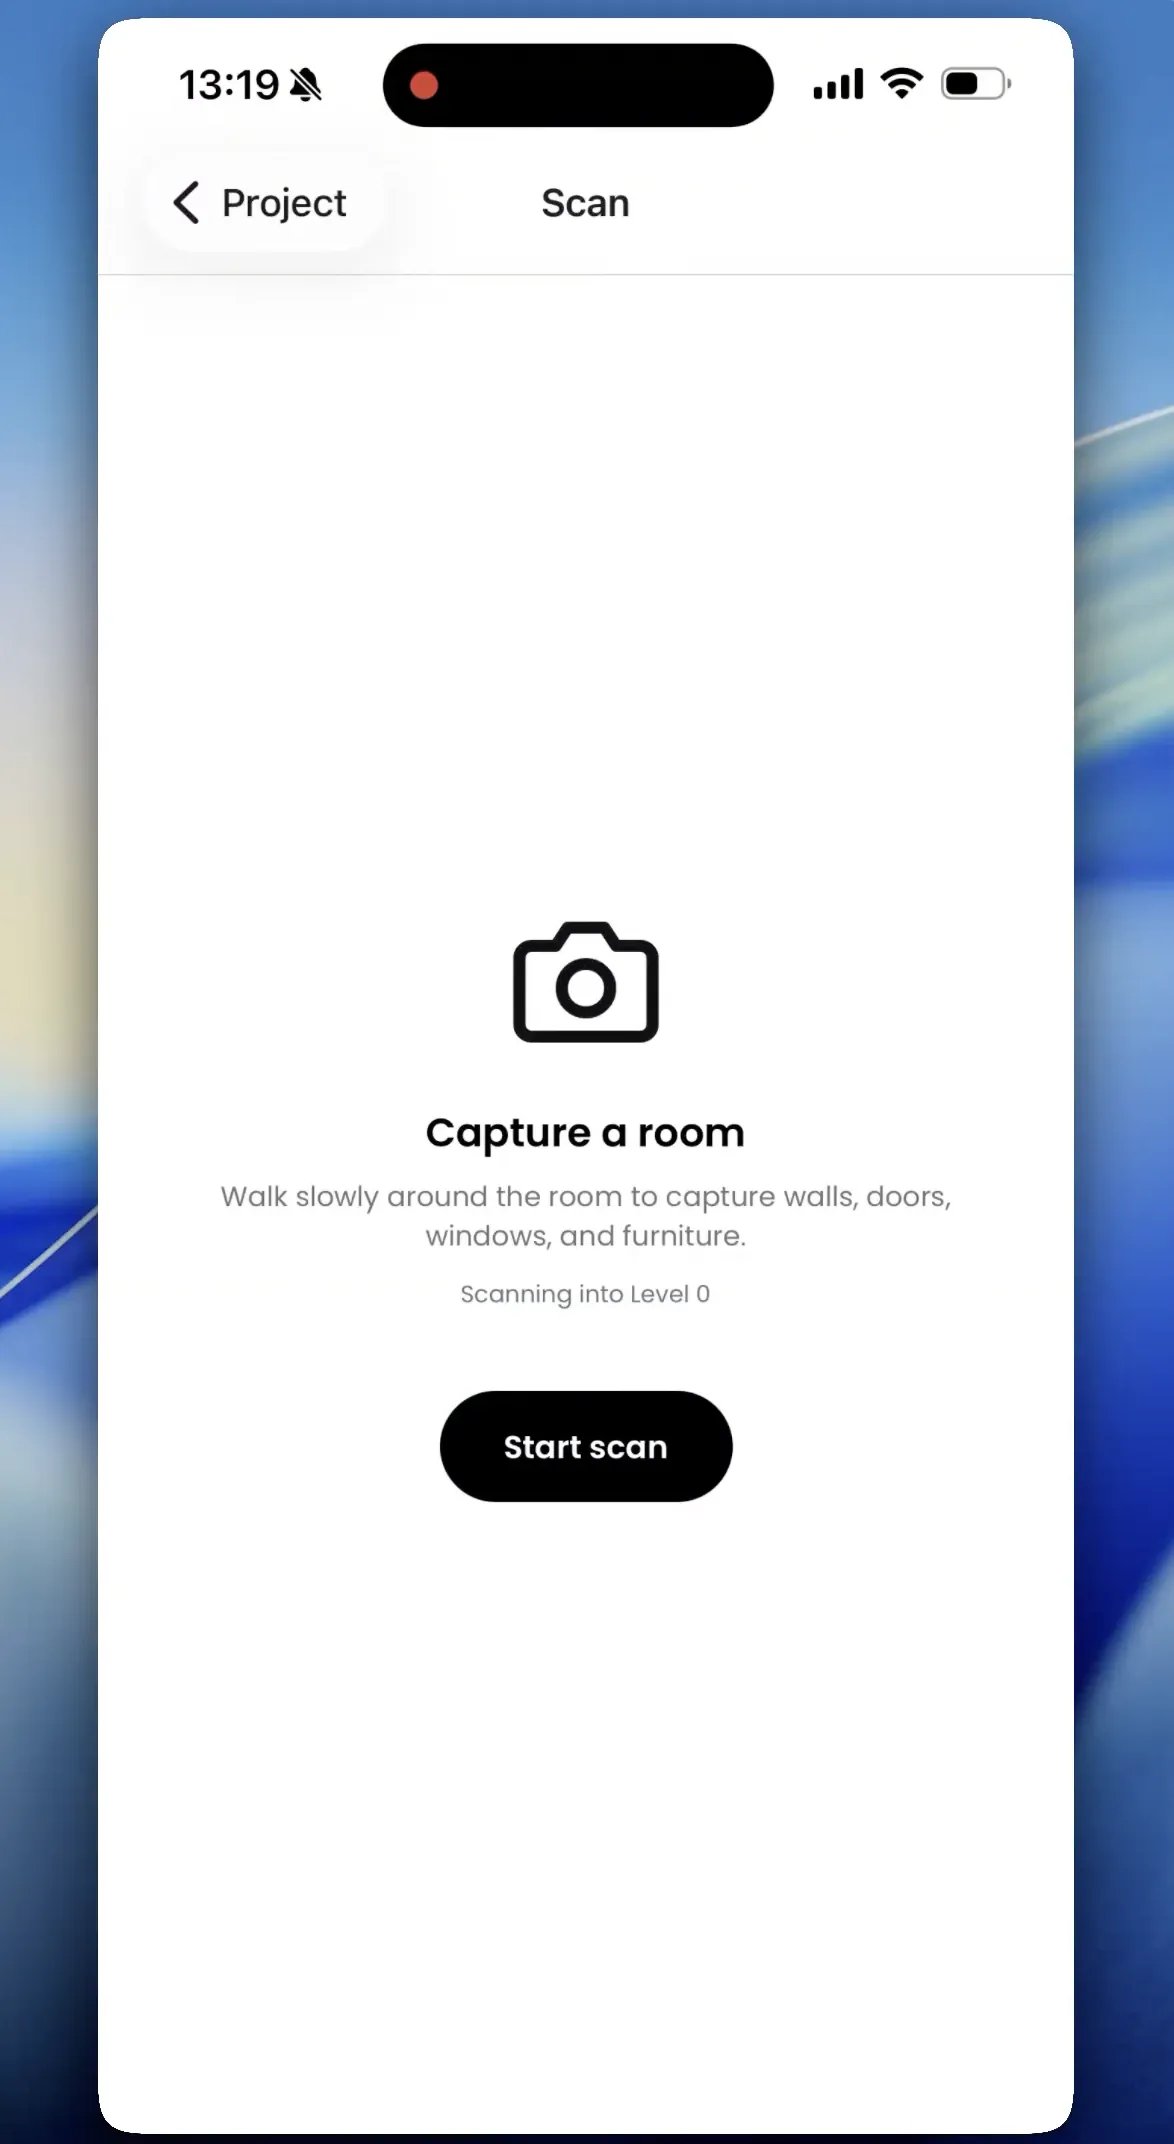
The scan screen
Watch what the scan is capturing
The selector at the top of the scan screen switches what the overlay draws, while you’re still scanning:
The capture display menu also has Show scan coverage. With it on, surfaces fill with
color as the scanner accumulates enough evidence for them and stay faintly outlined where
it hasn’t seen enough yet — so you can tell at a glance which corner still needs another
pass before you finish.
Place and name the room
When the scanner finishes, Capture shows the new room’s footprint on a 2D floorplan. Give the room a name, pick its color, and — if the level already has rooms — drag it into position next to its neighbors. Rotation snaps in 90° steps, so walls line up with the rooms you’ve already captured. A whole floor comes together one scan at a time.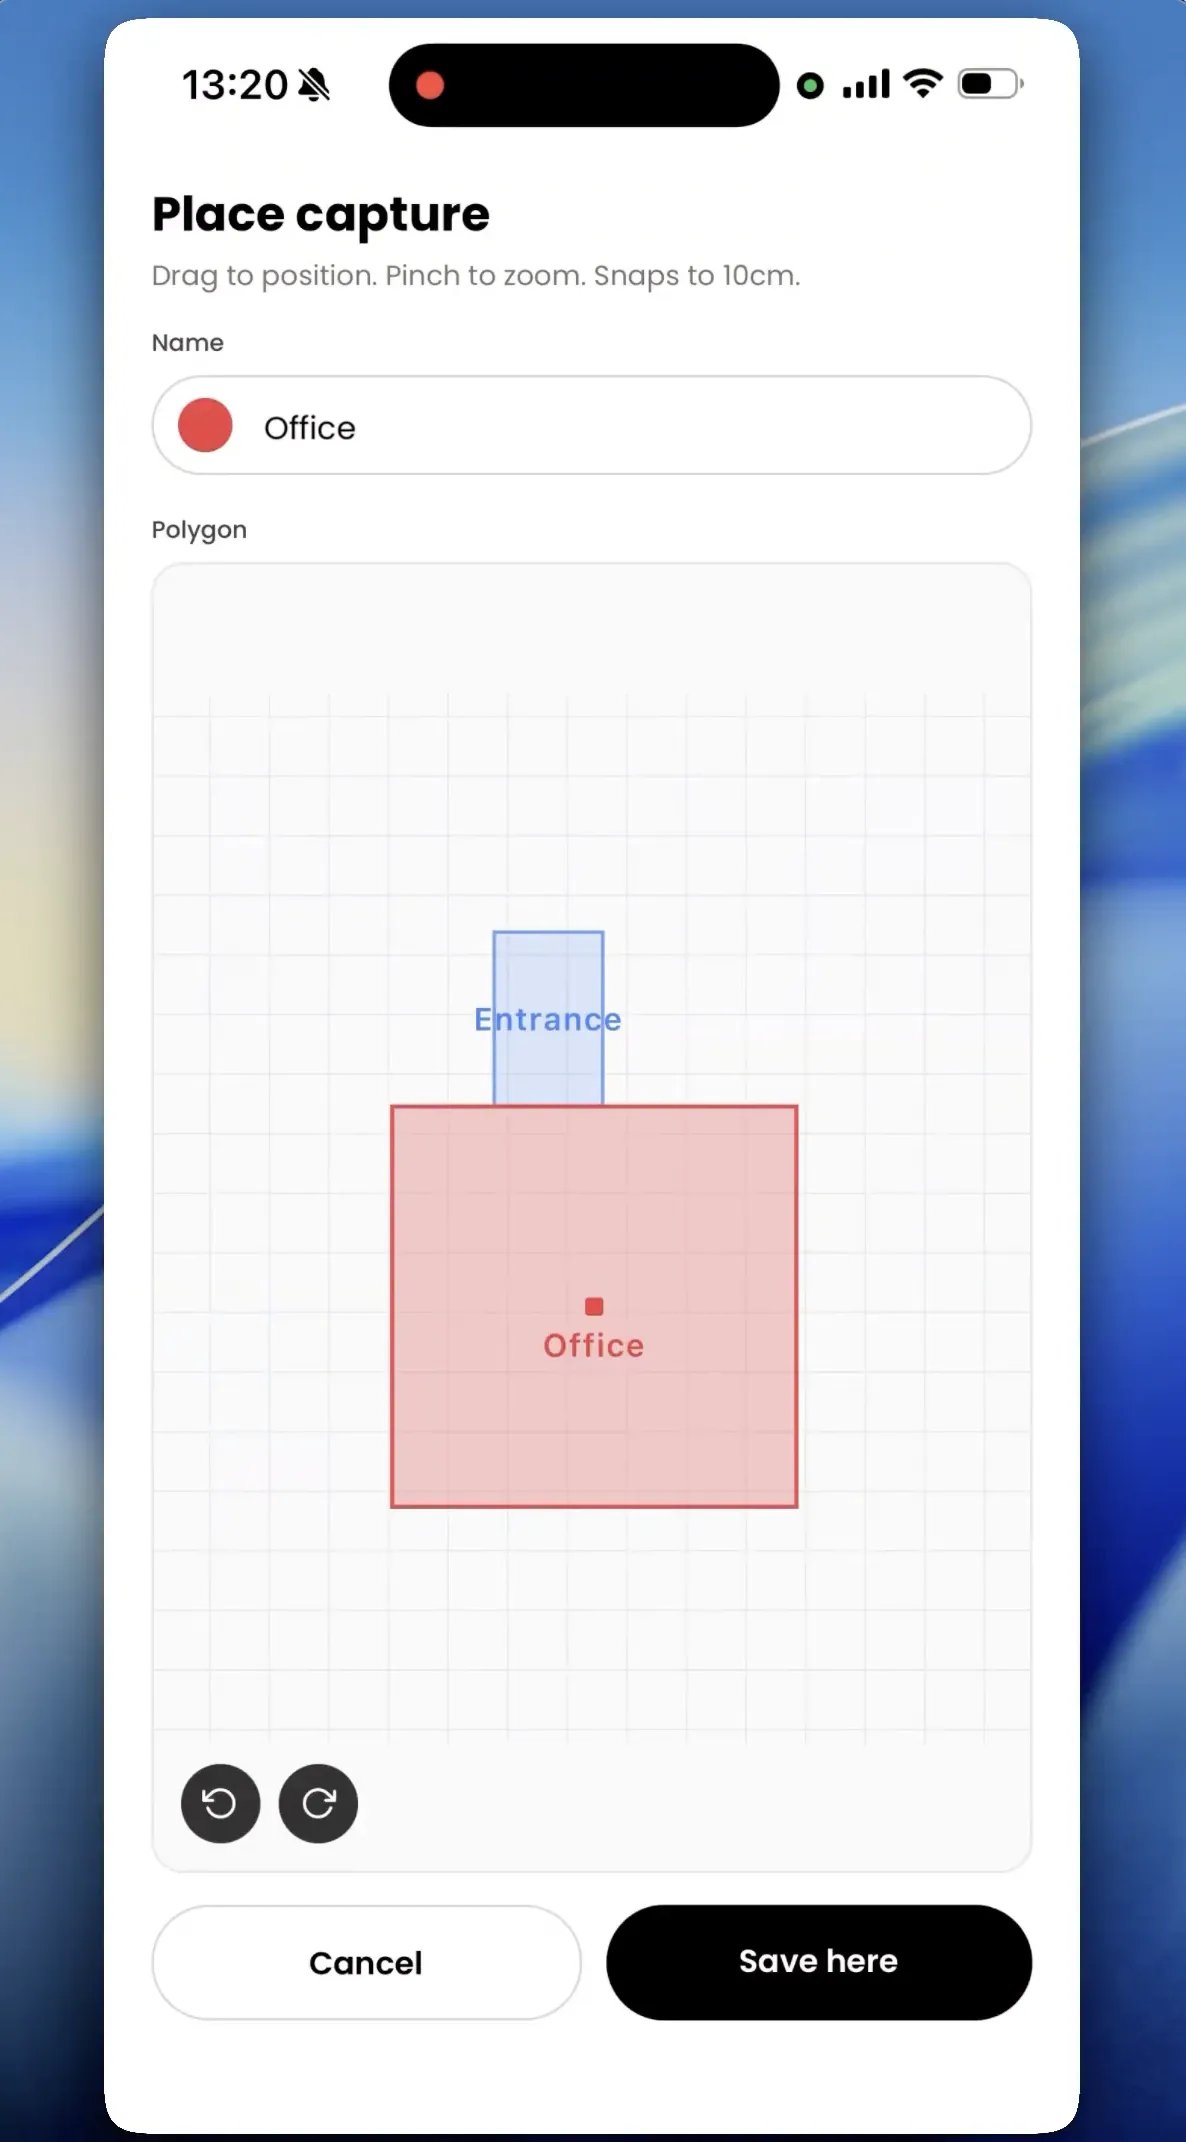
Positioning a scan next to existing rooms
How a scan becomes a scene
After placement, Capture uploads the scan and converts it on the spot. You get a Capture saved summary counting what was created: walls, doors, windows, items, slabs, and ceilings. The conversion produces regular Pascal elements, not a static scan mesh:- The room arrives as a named, colored zone on the level you picked.
- Walls, doors, and windows become the same editable elements you’d draw by hand, with the room auto-rotated so its walls align with the grid.
- Recognized furniture is matched against the Pascal catalog. When there’s no close match, a placeholder model stands in — the summary lists which items used one, so you know what to swap later.
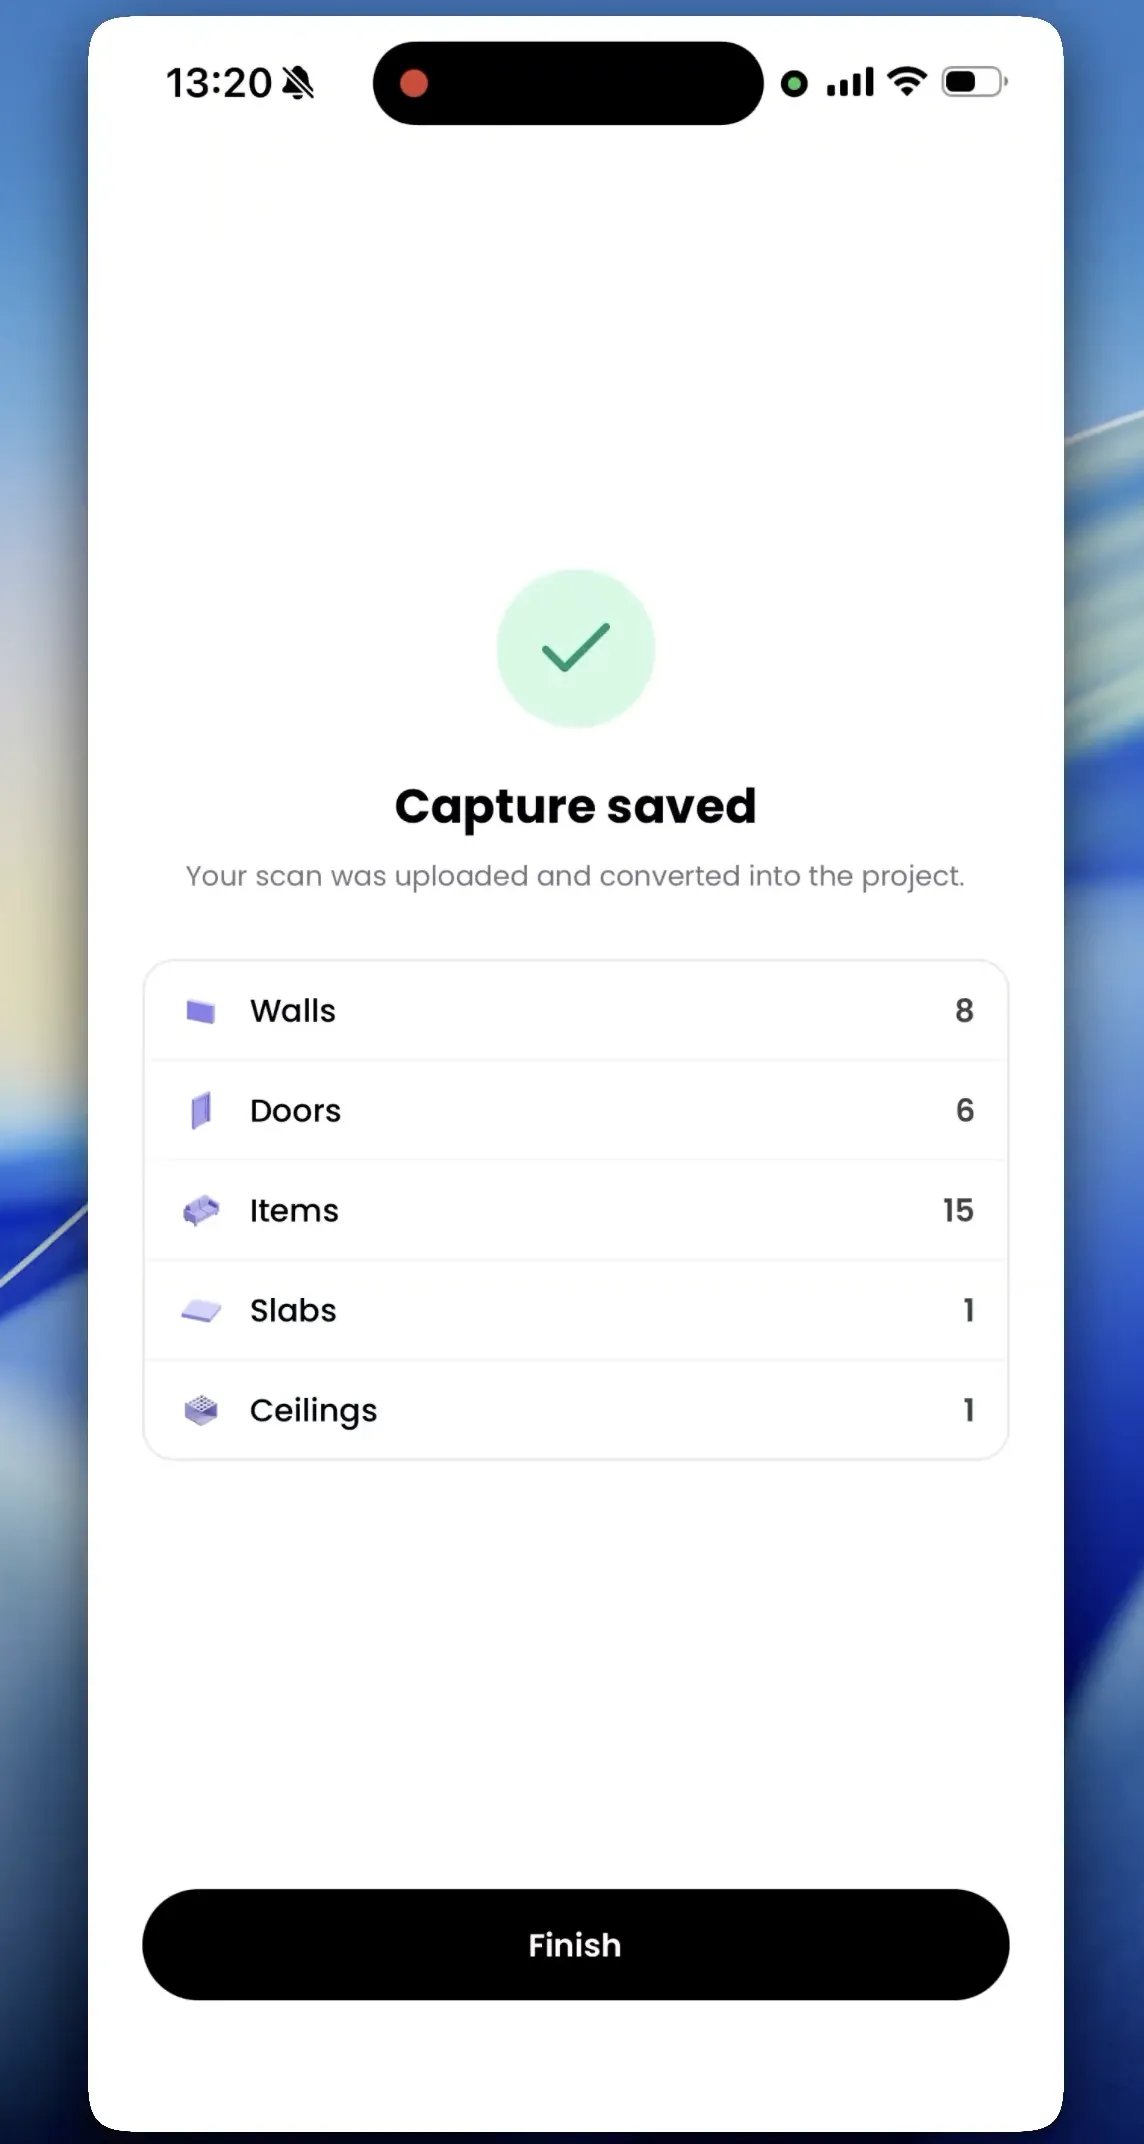
The post-scan summary
The scan in the editor
The editable scene isn’t all that comes across. The scan itself travels with the project and appears in the scene tree, with each of the things the phone recorded as its own layer you can switch on and off:
Use them to check the scan against what you’re building — comparing a wall you’ve
straightened against the points it came from, for instance. The point cloud stays off
until you turn it on, because it’s the heaviest of the four, and hiding a layer stops it
doing any work rather than merely making it invisible.
If a scan fails
- New scan does nothing, or the scan screen says the device isn’t supported — check that your device has LiDAR (see the list above).
- “Scan didn’t save” — iOS interrupted the capture (backgrounding, a phone call, low memory). Try again and walk the full perimeter without leaving the app.
- End scan isn’t there yet — it only appears once a paused segment has finished processing. Pause and give it a moment.
- The scanner reports an error — move to a brighter spot with visible furniture or edges, then walk slowly around the room.