

Share a project link
Every project starts private — only you can open it. Click Share in the editor’s top bar and, under Share project file, choose who can open the project:- Private — “Only you can open it”
- Public — “Anyone with the link can open it”
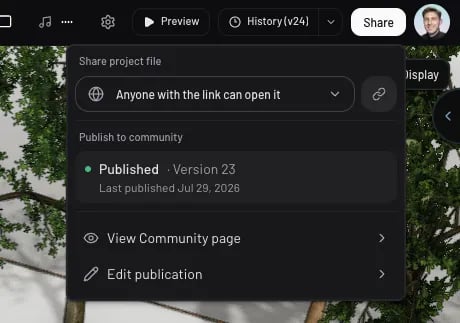
The Share popover in the editor
- orbit, pan, and zoom around the scene
- switch levels and view them stacked, exploded, or solo
- change wall height (full height, cutaway, or low) to peek inside rooms
- adjust display settings: shadows, camera projection, colors, render mode, and scene theme
- walk through the design in first person (walkthrough mode;
Escexits)
A share link doesn’t list your project anywhere — people need the link to find it.
Putting it on the community hub is what publishing is for.
Publish a project
Publishing gives your project a Community page where people can explore the scene in 3D, browse your renders, like, comment, and duplicate it — and lists it on the community hub and your profile. In the Share popover, click Publish your project to community. (A private project shows a Make project public step first — community posts are only visible while project access is set to Public.) The publish dialog collects everything the post shows:- Cover (required) — Take snapshot captures a framed shot of your scene without leaving the dialog, or Choose from gallery picks from your snapshots and Studio renders. The cover is what people see on your project’s card.
- Attached renders (optional, up to 5) — renders and snapshots shown as a gallery on the Community page alongside the interactive 3D model. Drag to reorder.
- Title and description — pre-filled from the project.
- Category (mandatory, up to 3) — pick from the curated list; Pascal suggests categories from the scene automatically.
- Allow duplication — let others create a copy of this project.
- Show 3D scans / Show floorplans — whether public viewers see attached scan data and floorplan guides.
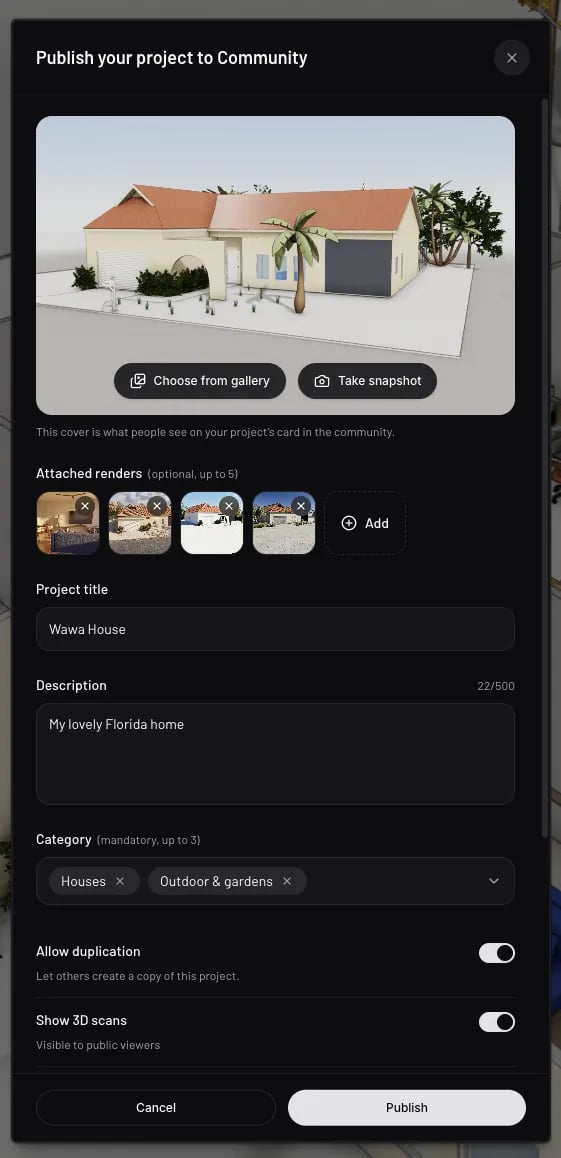
Publishing a project to the community
Keep a publication up to date
After publishing, the Share popover shows the publication state: Published with the version number and its “Last published” date. When you edit the scene afterwards, an orange dot on Share and an “Unpublished changes” badge remind you that your latest changes aren’t live yet — click Publish changes when you’re ready.- View Community page — jump to the public post.
- Edit publication — reopen the publish dialog pre-filled to change the cover, details, categories, or toggles without republishing the scene.
- Remove from Community — at the bottom of the edit dialog. Your project stays yours; it just leaves the community.
⋯ menu.
Publish items
Items you’ve saved in the editor (see saving presets) can be shared with everyone. In the community hub, click Publish, pick Items, select what to share, and hit Publish. Published items appear on the hub’s Items tab and your profile, and anyone can find them in the editor to drop into their own projects.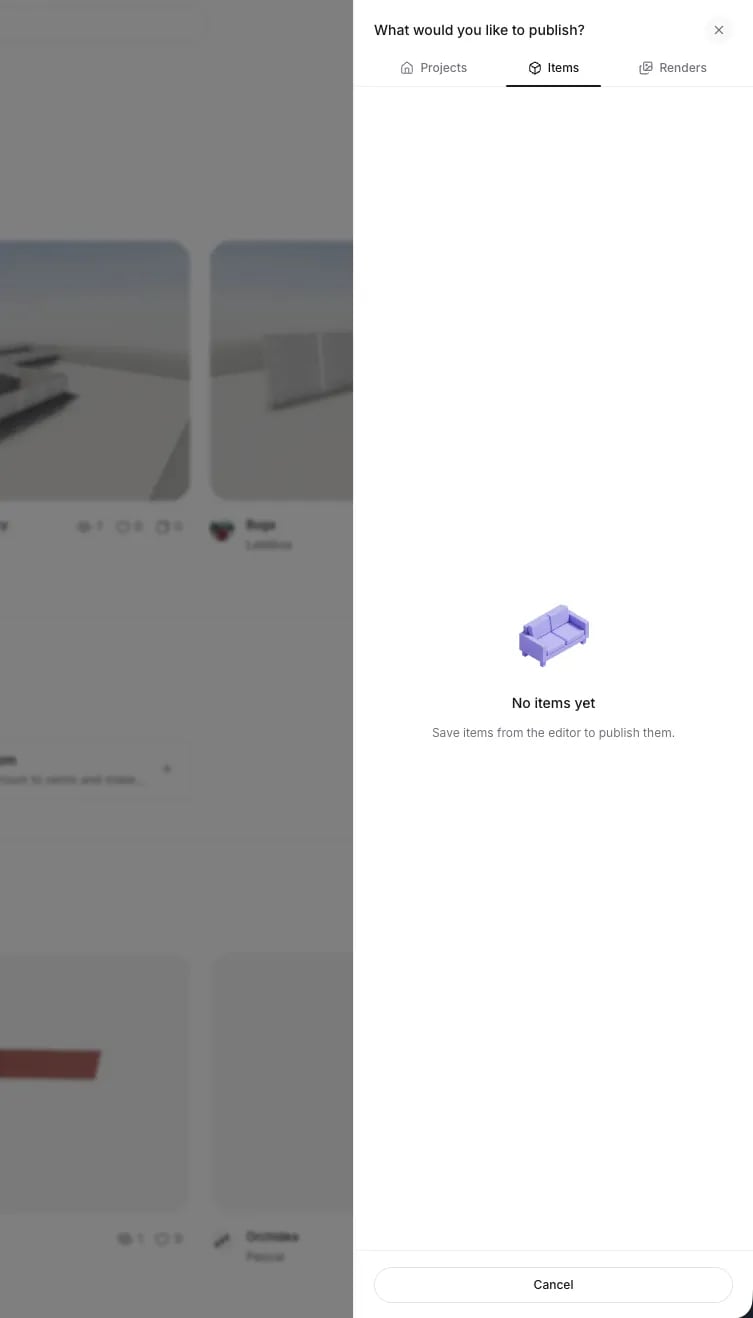
Choosing what to publish
Publish a render gallery
Render posts collect your best visuals into a single gallery — up to 20 per post, dragged into the order you want. Click Publish, pick Renders, and build the gallery from three sources: Renders (made with Pascal Studio), Snapshots, and Uploads (Upload image; PNG, JPEG, and WebP). Studio videos work too — they play right in the gallery. Name the post, add a description, tag it with up to 3 styles (Photorealistic, Blueprint, Interiors, …) so people can filter to it, and Publish. Render posts live on the hub’s Renders tab and your profile, where you can edit a gallery’s images and details any time.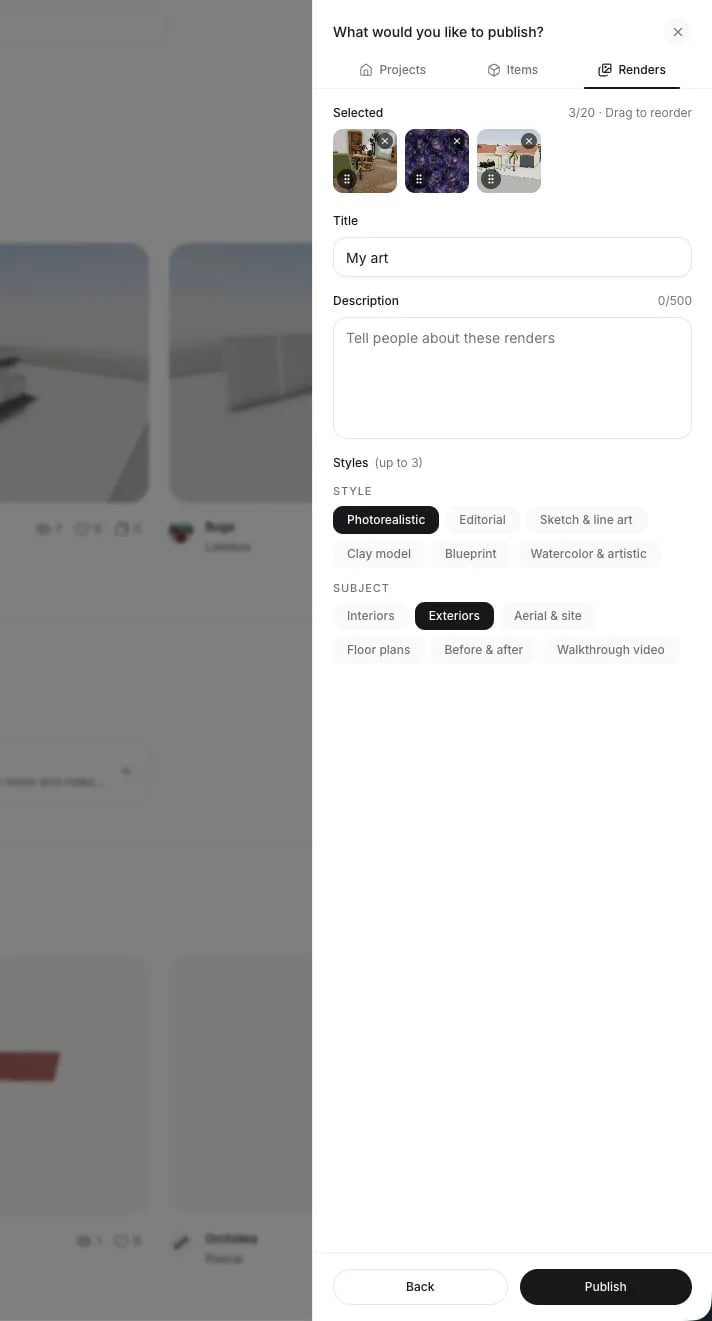
Building a render gallery
What’s public and what stays private
Publishing shares the design itself. Attached scan data and floorplan guides have their own Show 3D scans and Show floorplans switches (in the publish dialog and in Project settings), so you can share the finished design while keeping the scan of your real home or the original floorplan hidden. Whether visitors can copy the project is yours to decide with Allow duplication. Private projects never appear anywhere except your own project list, and removing a publication never touches the project or its version history.Link previews
When you paste a public link into a chat or social post, it unfurls with a preview card showing the project’s name and your username. Private projects don’t leak anything — their links fall back to a generic “3D Project Viewer” preview.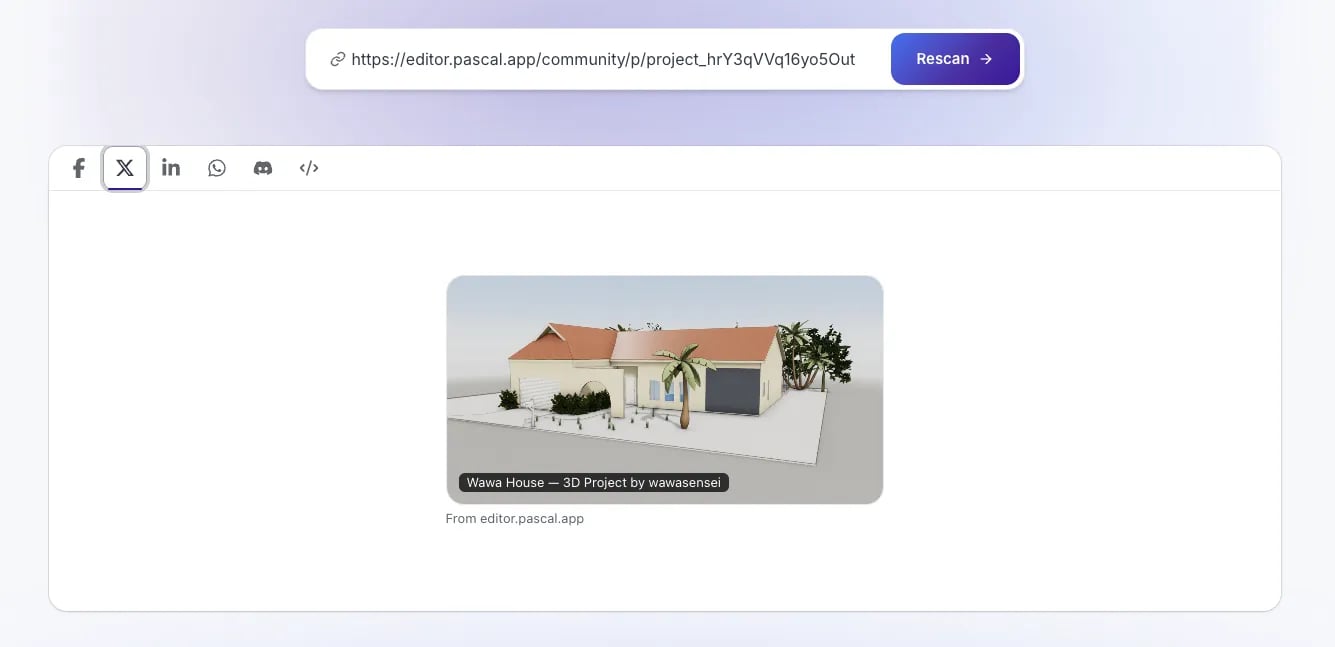
A shared link preview