

Take a quick screenshot
PressCmd/Ctrl + K to open the command palette and pick Take Screenshot. A PNG
of the current viewport downloads immediately, named like screenshot_2026-07-06.png.
The screenshot captures the canvas as-is, so everything you see is in the image:
the active render mode, edge lines, scene theme, and any level or wall cutaway you
have applied.
Take a snapshot
Choose Take Snapshot from the command palette (on mobile, use the ⋯ view options menu and tap Snapshot). The capture overlay takes over the stage with a rule-of-thirds grid and corner guides to help you frame the shot.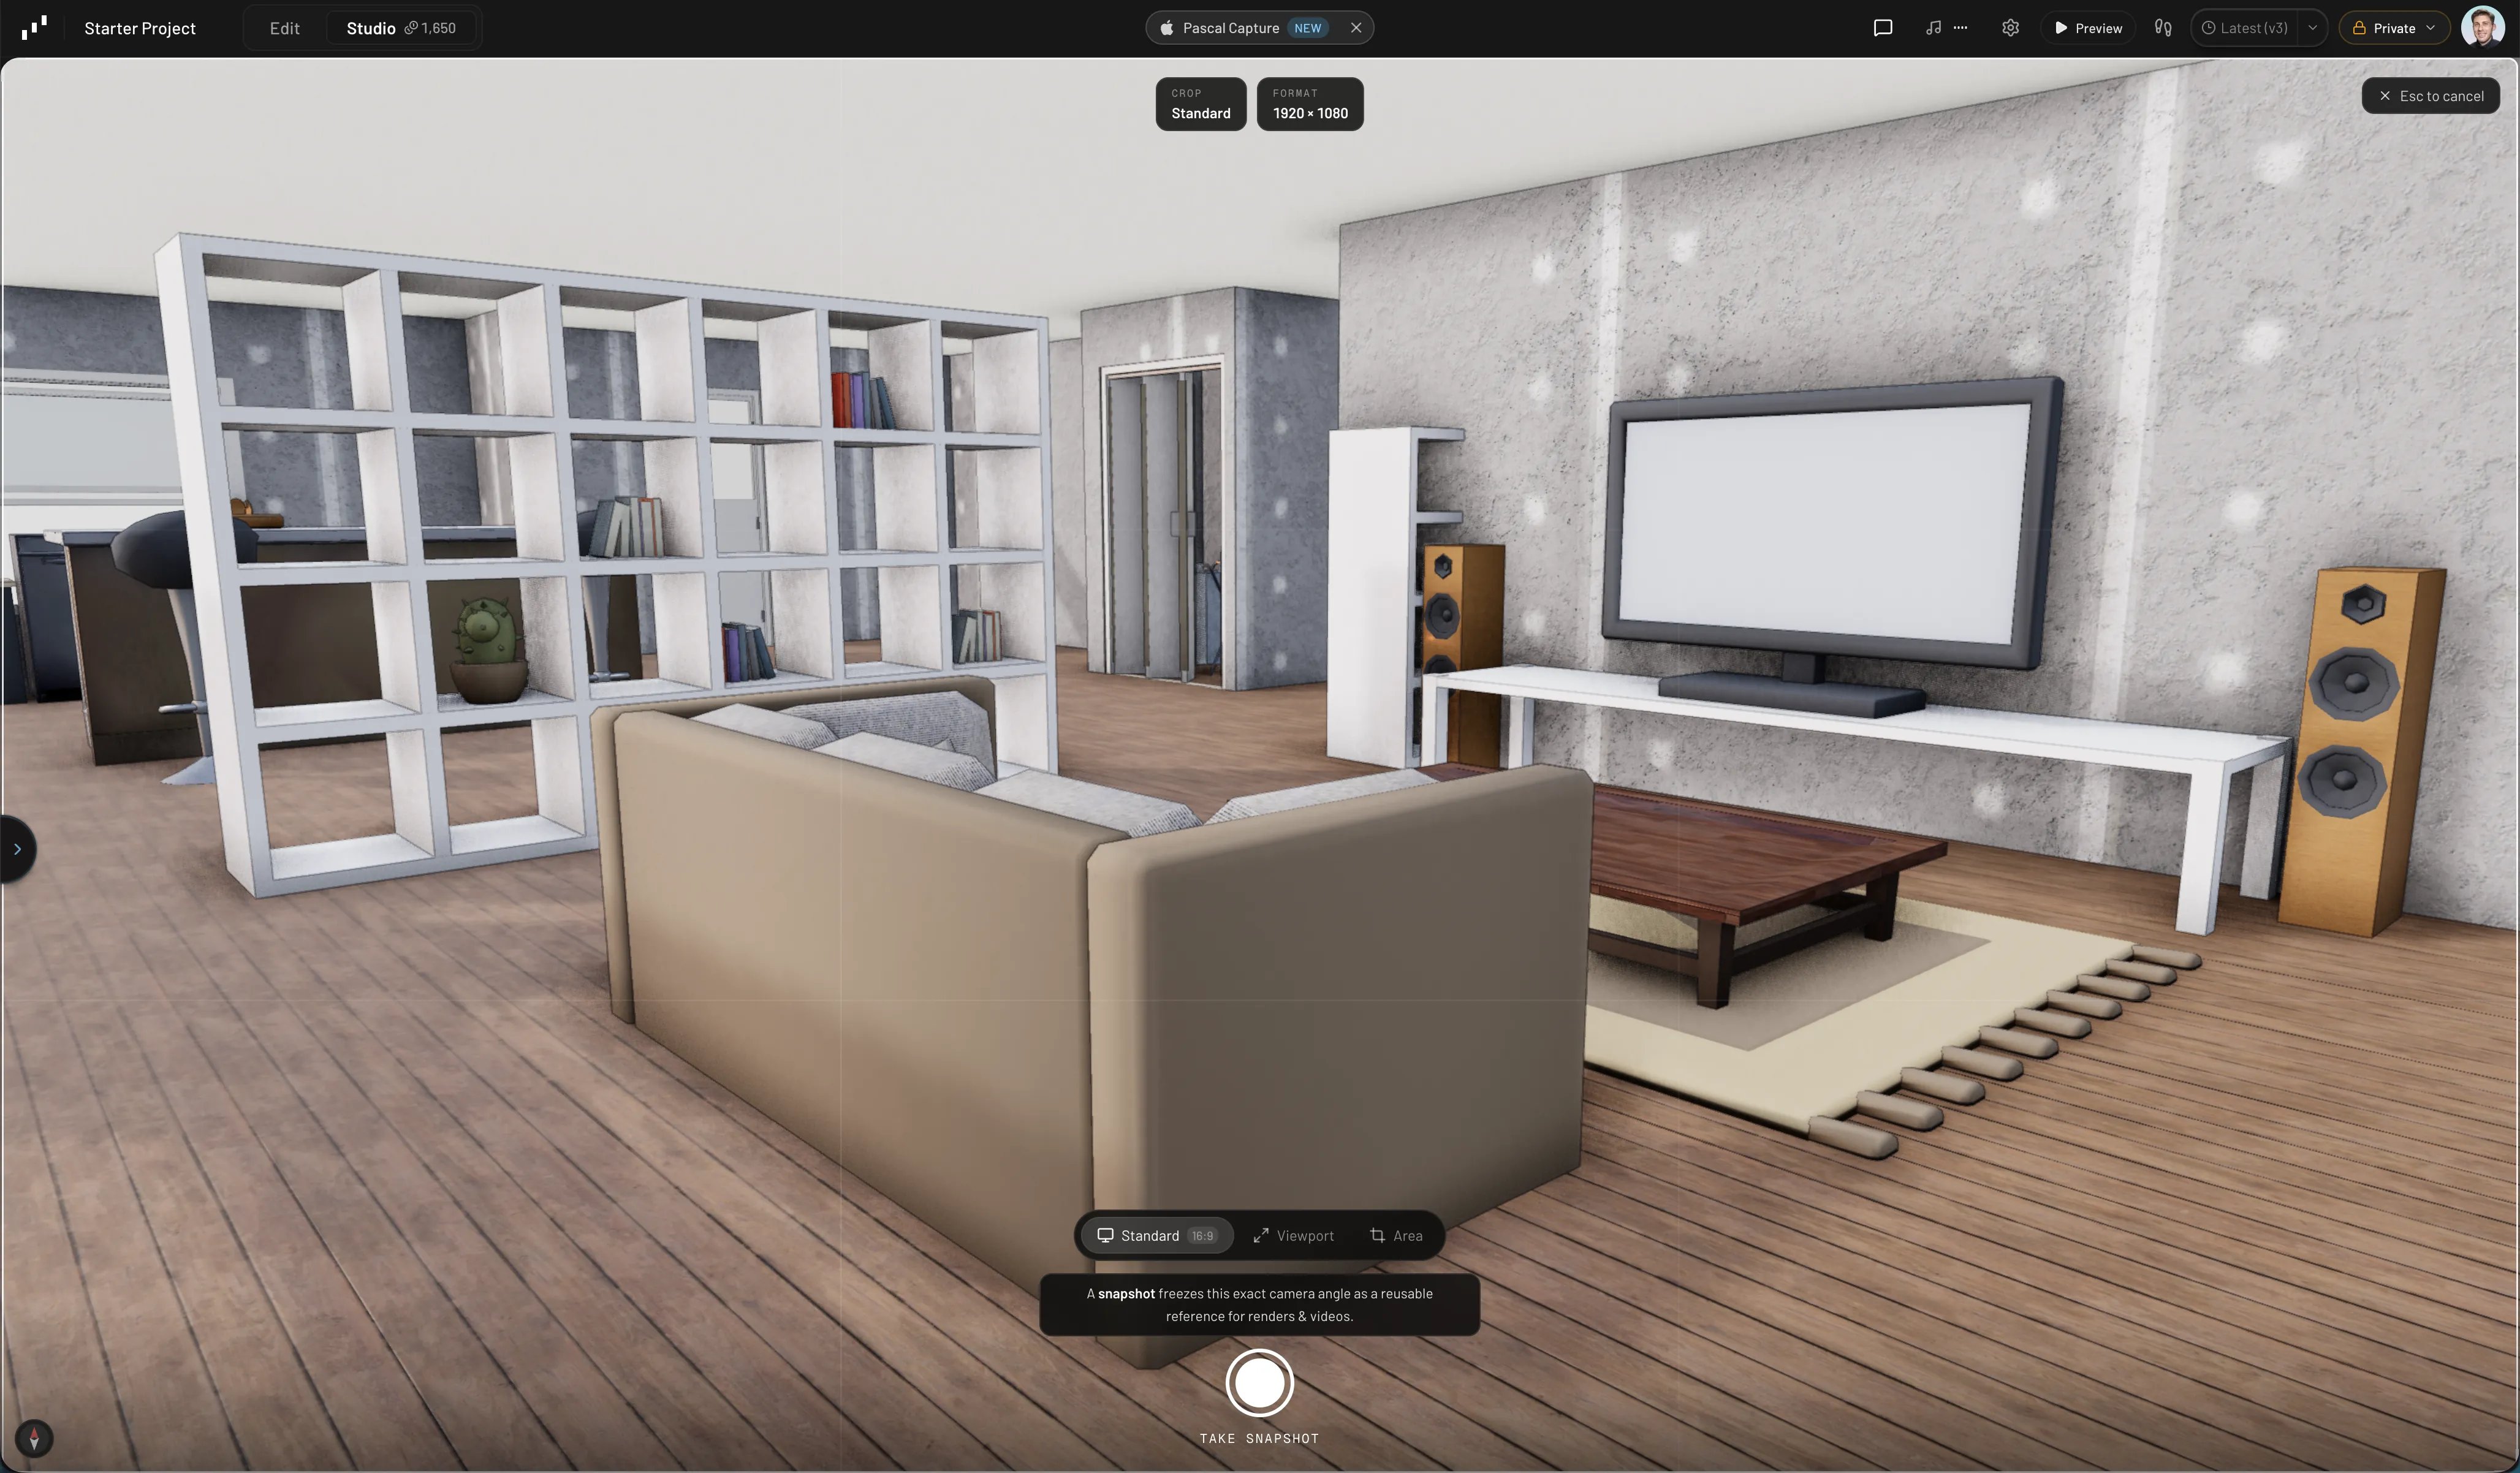
The snapshot capture overlay
- Standard — a letterboxed frame at a fixed aspect ratio. Click Standard
again to pick the ratio:
16:9,9:16,4:3,3:4, or1:1(16:9 is the default, captured at 1920 × 1080). - Viewport — the whole canvas, at your screen’s size.
- Area — drag a rectangle over exactly the region you want, then move or resize it with the corner handles.
Esc to cancel.
Snapshots don’t download directly — they render through a dedicated high-quality
pipeline (always at full rendered quality, whatever your current viewport shading)
and save to your project.
Find and download your snapshots
Saved snapshots live in your project’s gallery alongside your AI renders: open the Studio workspace and pick the Gallery view in the bar above the stage. From the gallery you can open a snapshot, mark it as a favorite, and Download it as a PNG. Snapshots also do double duty as camera references for studio renders — a saved snapshot pins the exact angle you framed.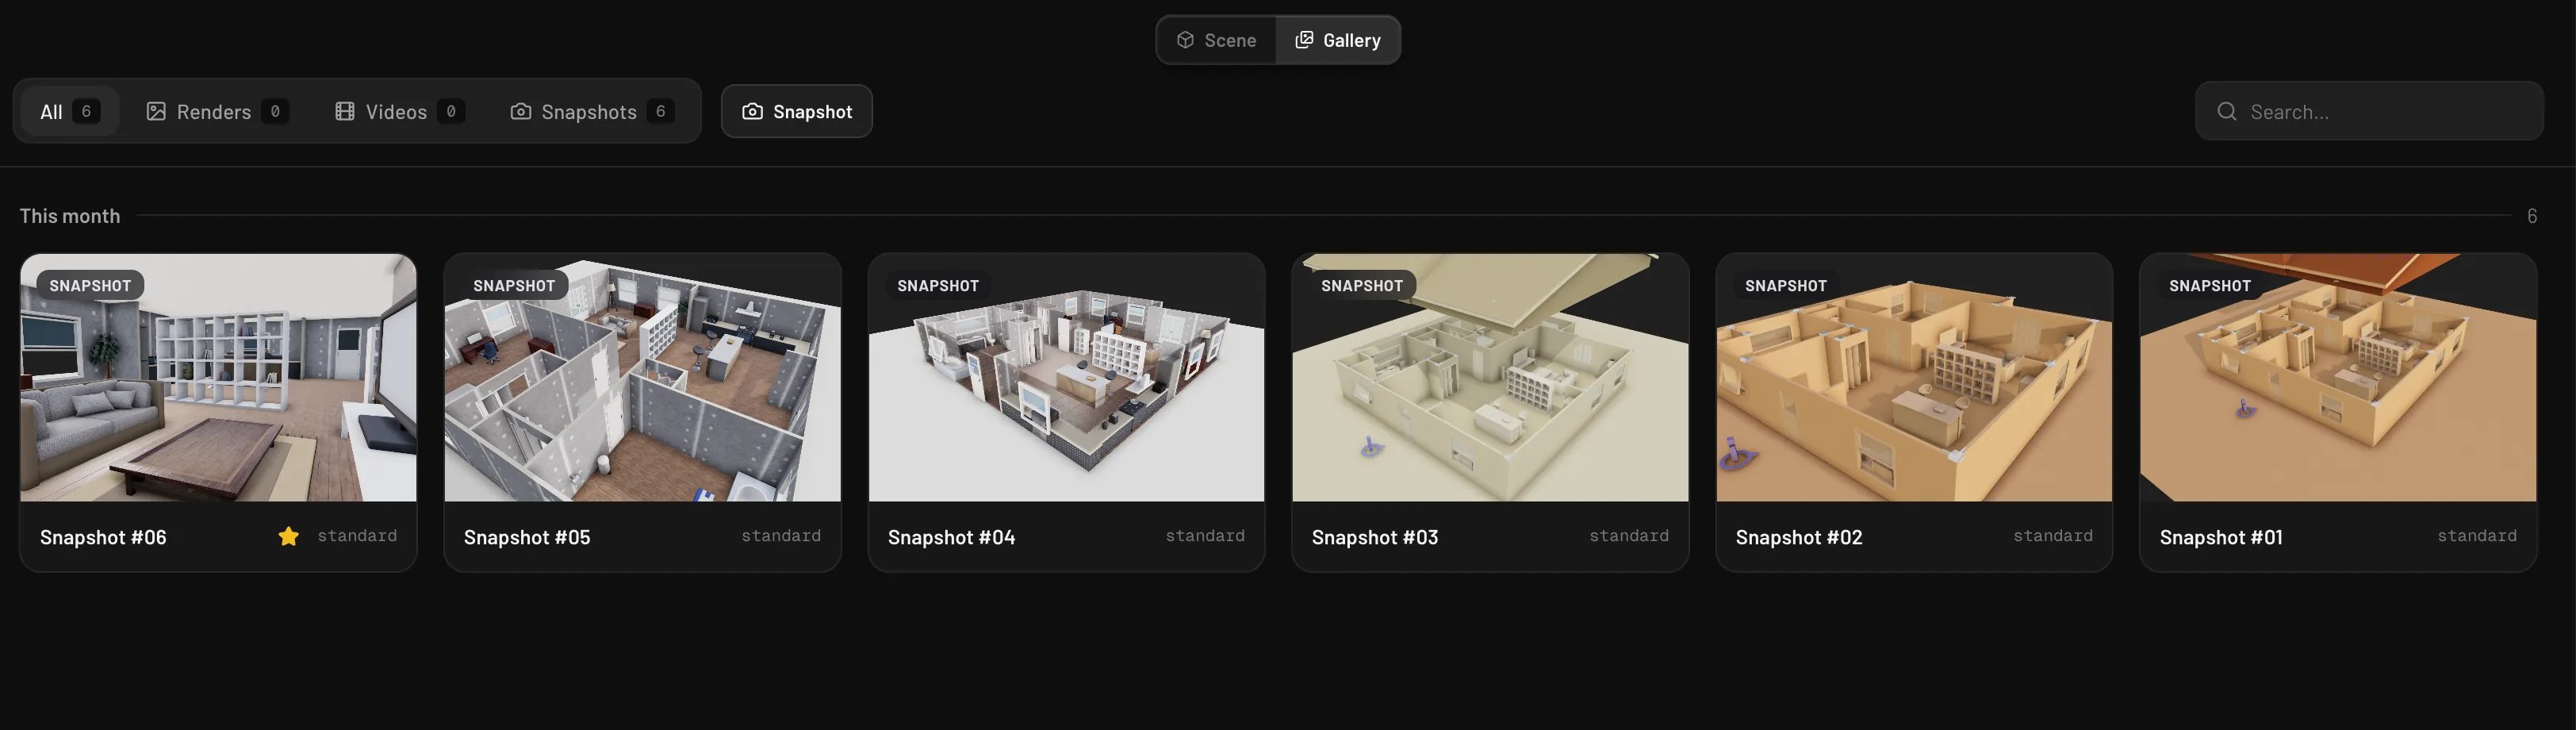
Downloading a snapshot from the gallery
Set up the shot
Everything in the viewer toolbar shapes what your capture looks like:- Display menu — switch shading between Solid (flat and fast) and Rendered (full ambient occlusion), textures between Colored and Monochrome (a flat clay look), edge lines between Off, Soft, and Strong, plus the scene theme and camera projection (Perspective/Orthographic).
- Levels and Walls toggles — explode levels apart, isolate a single level, or cut walls down so the camera can see into rooms.
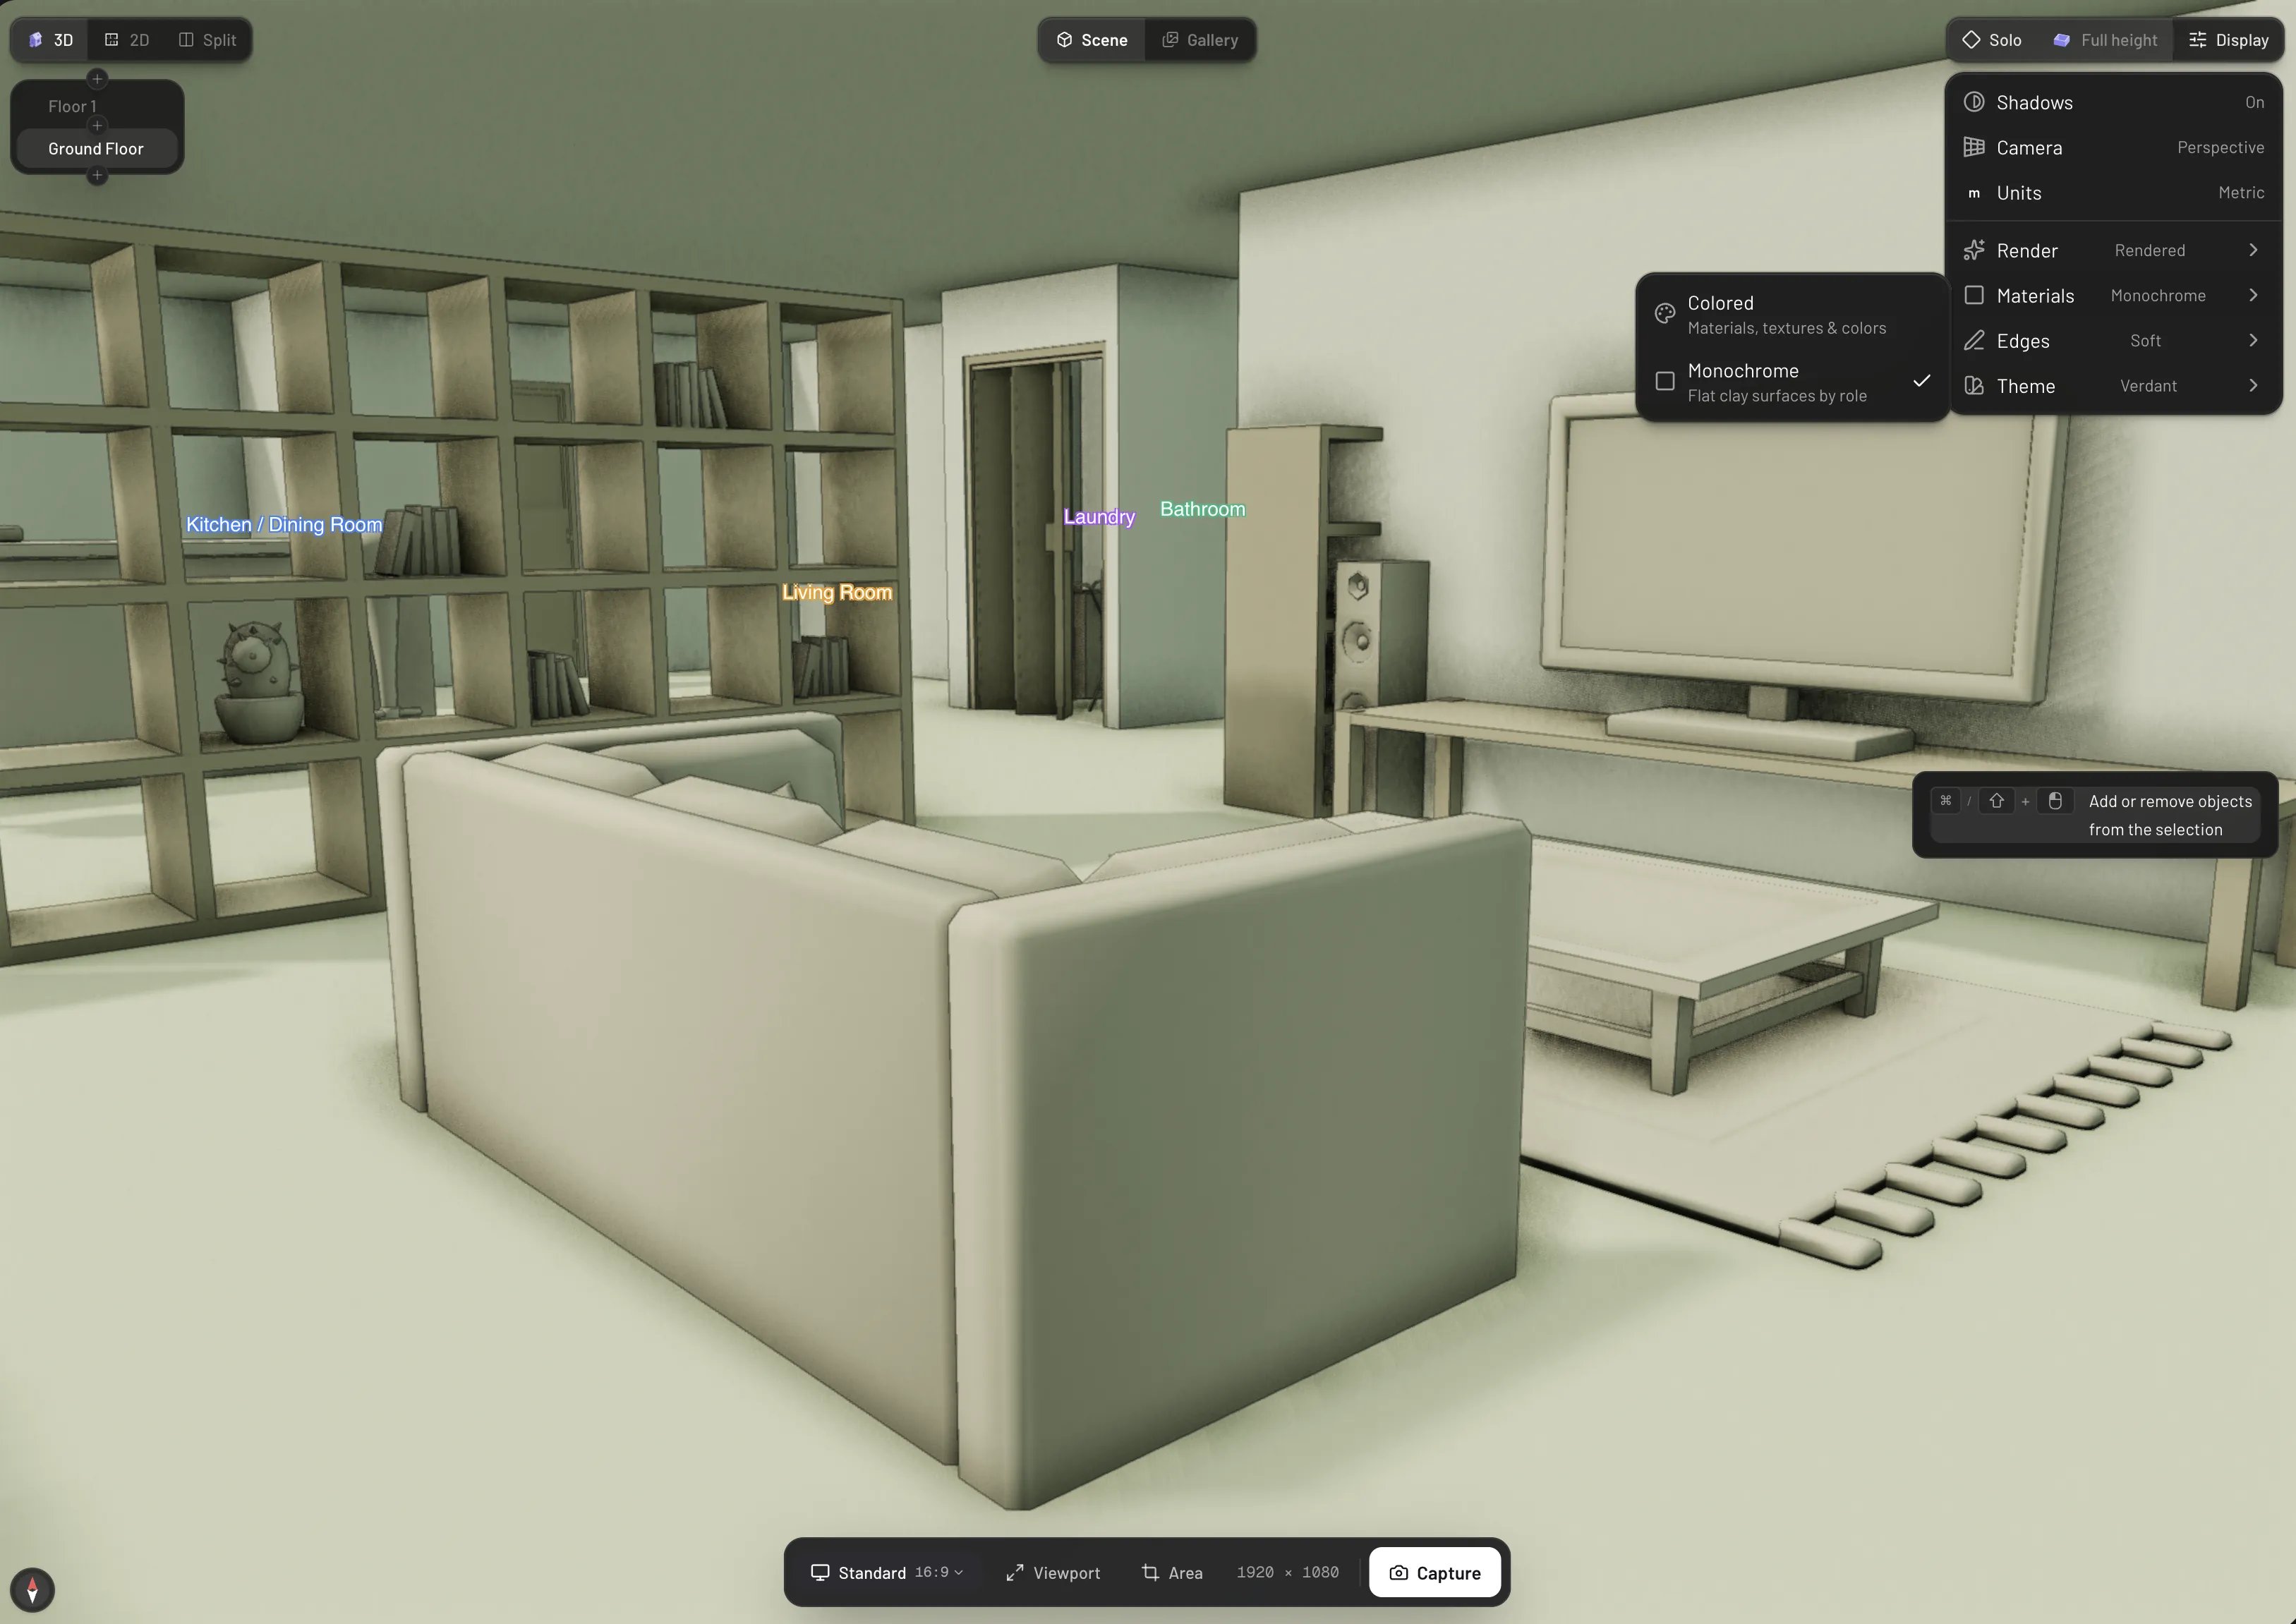
Display settings change what a screenshot captures