

Levels
Every scene starts with a single level named Ground Floor. Levels you add above it are named Floor 1, Floor 2, and so on; levels below become Basement 1, Basement 2. A level is 2.5 m tall by default and grows automatically if you raise its walls or ceilings.Manage levels
The level selector floats at the top left of the canvas. From there you can:- Add a level with the
+buttons above and below the list, or insert one between two existing levels. - Rename a level by double-clicking its name —
Entersaves,Esccancels. - Reorder levels by dragging the grip handle on a row.
- Duplicate a level from its
⋯menu — Duplicate level copies everything, and Duplicate with options… lets you pick what comes along. - Delete a level from the same menu. You’ll be asked to confirm, since all walls, floors, and objects on that level are removed with it. The ground floor can’t be deleted.
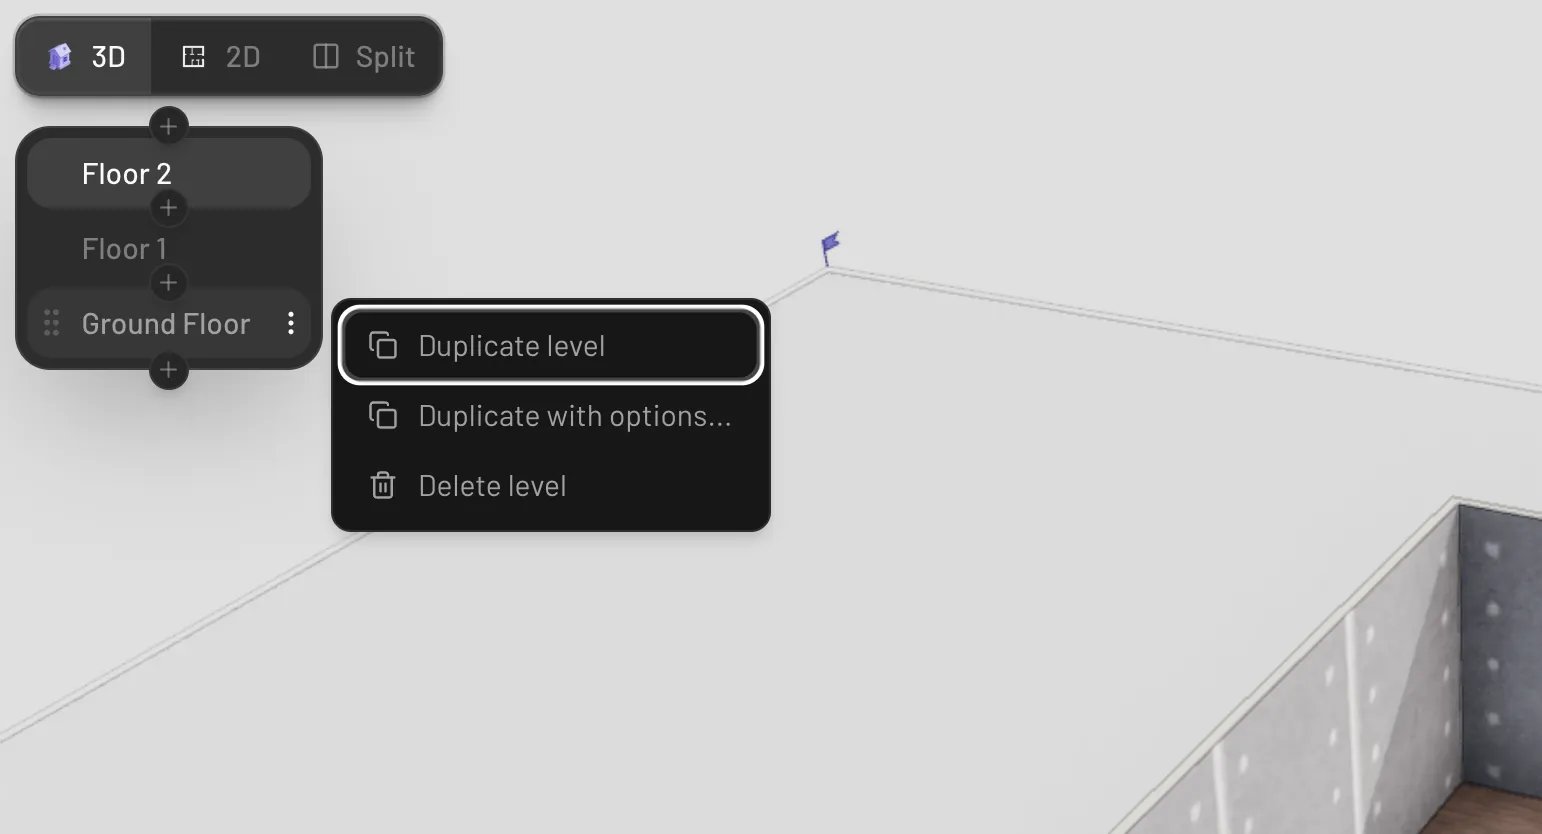
The level selector
Switch between levels
Click a level in the selector to make it active — new walls and items go onto the active level.Cmd/Ctrl + ↑ and Cmd/Ctrl + ↓ step up and down through the
building.
While you edit, the levels always sit stacked at their true heights, and every level
above the active one is hidden — the active level and the ones below it stay visible,
so the storey you are working on is never covered. Pick an upper level to see it
again. The shared viewer opens on the whole building and Preview on the level you
were editing; picking a floor in either hides the levels above it the same way, and the
walkthrough always shows every level.
Floors
Floors are slabs, and most of the time you don’t draw them: the moment your walls enclose a room, Pascal detects the space and generates its floor slab (and ceiling) automatically. The auto floor keeps tracking your walls as you edit them. To draw a floor yourself — a terrace, a landing, a slab that doesn’t follow the walls — use the Slab tool in the Build tab:- Click to place each corner of the outline.
- Finish by clicking back on the first point, double-clicking, or pressing
Enter(the outline needs at least three points).Esccancels.
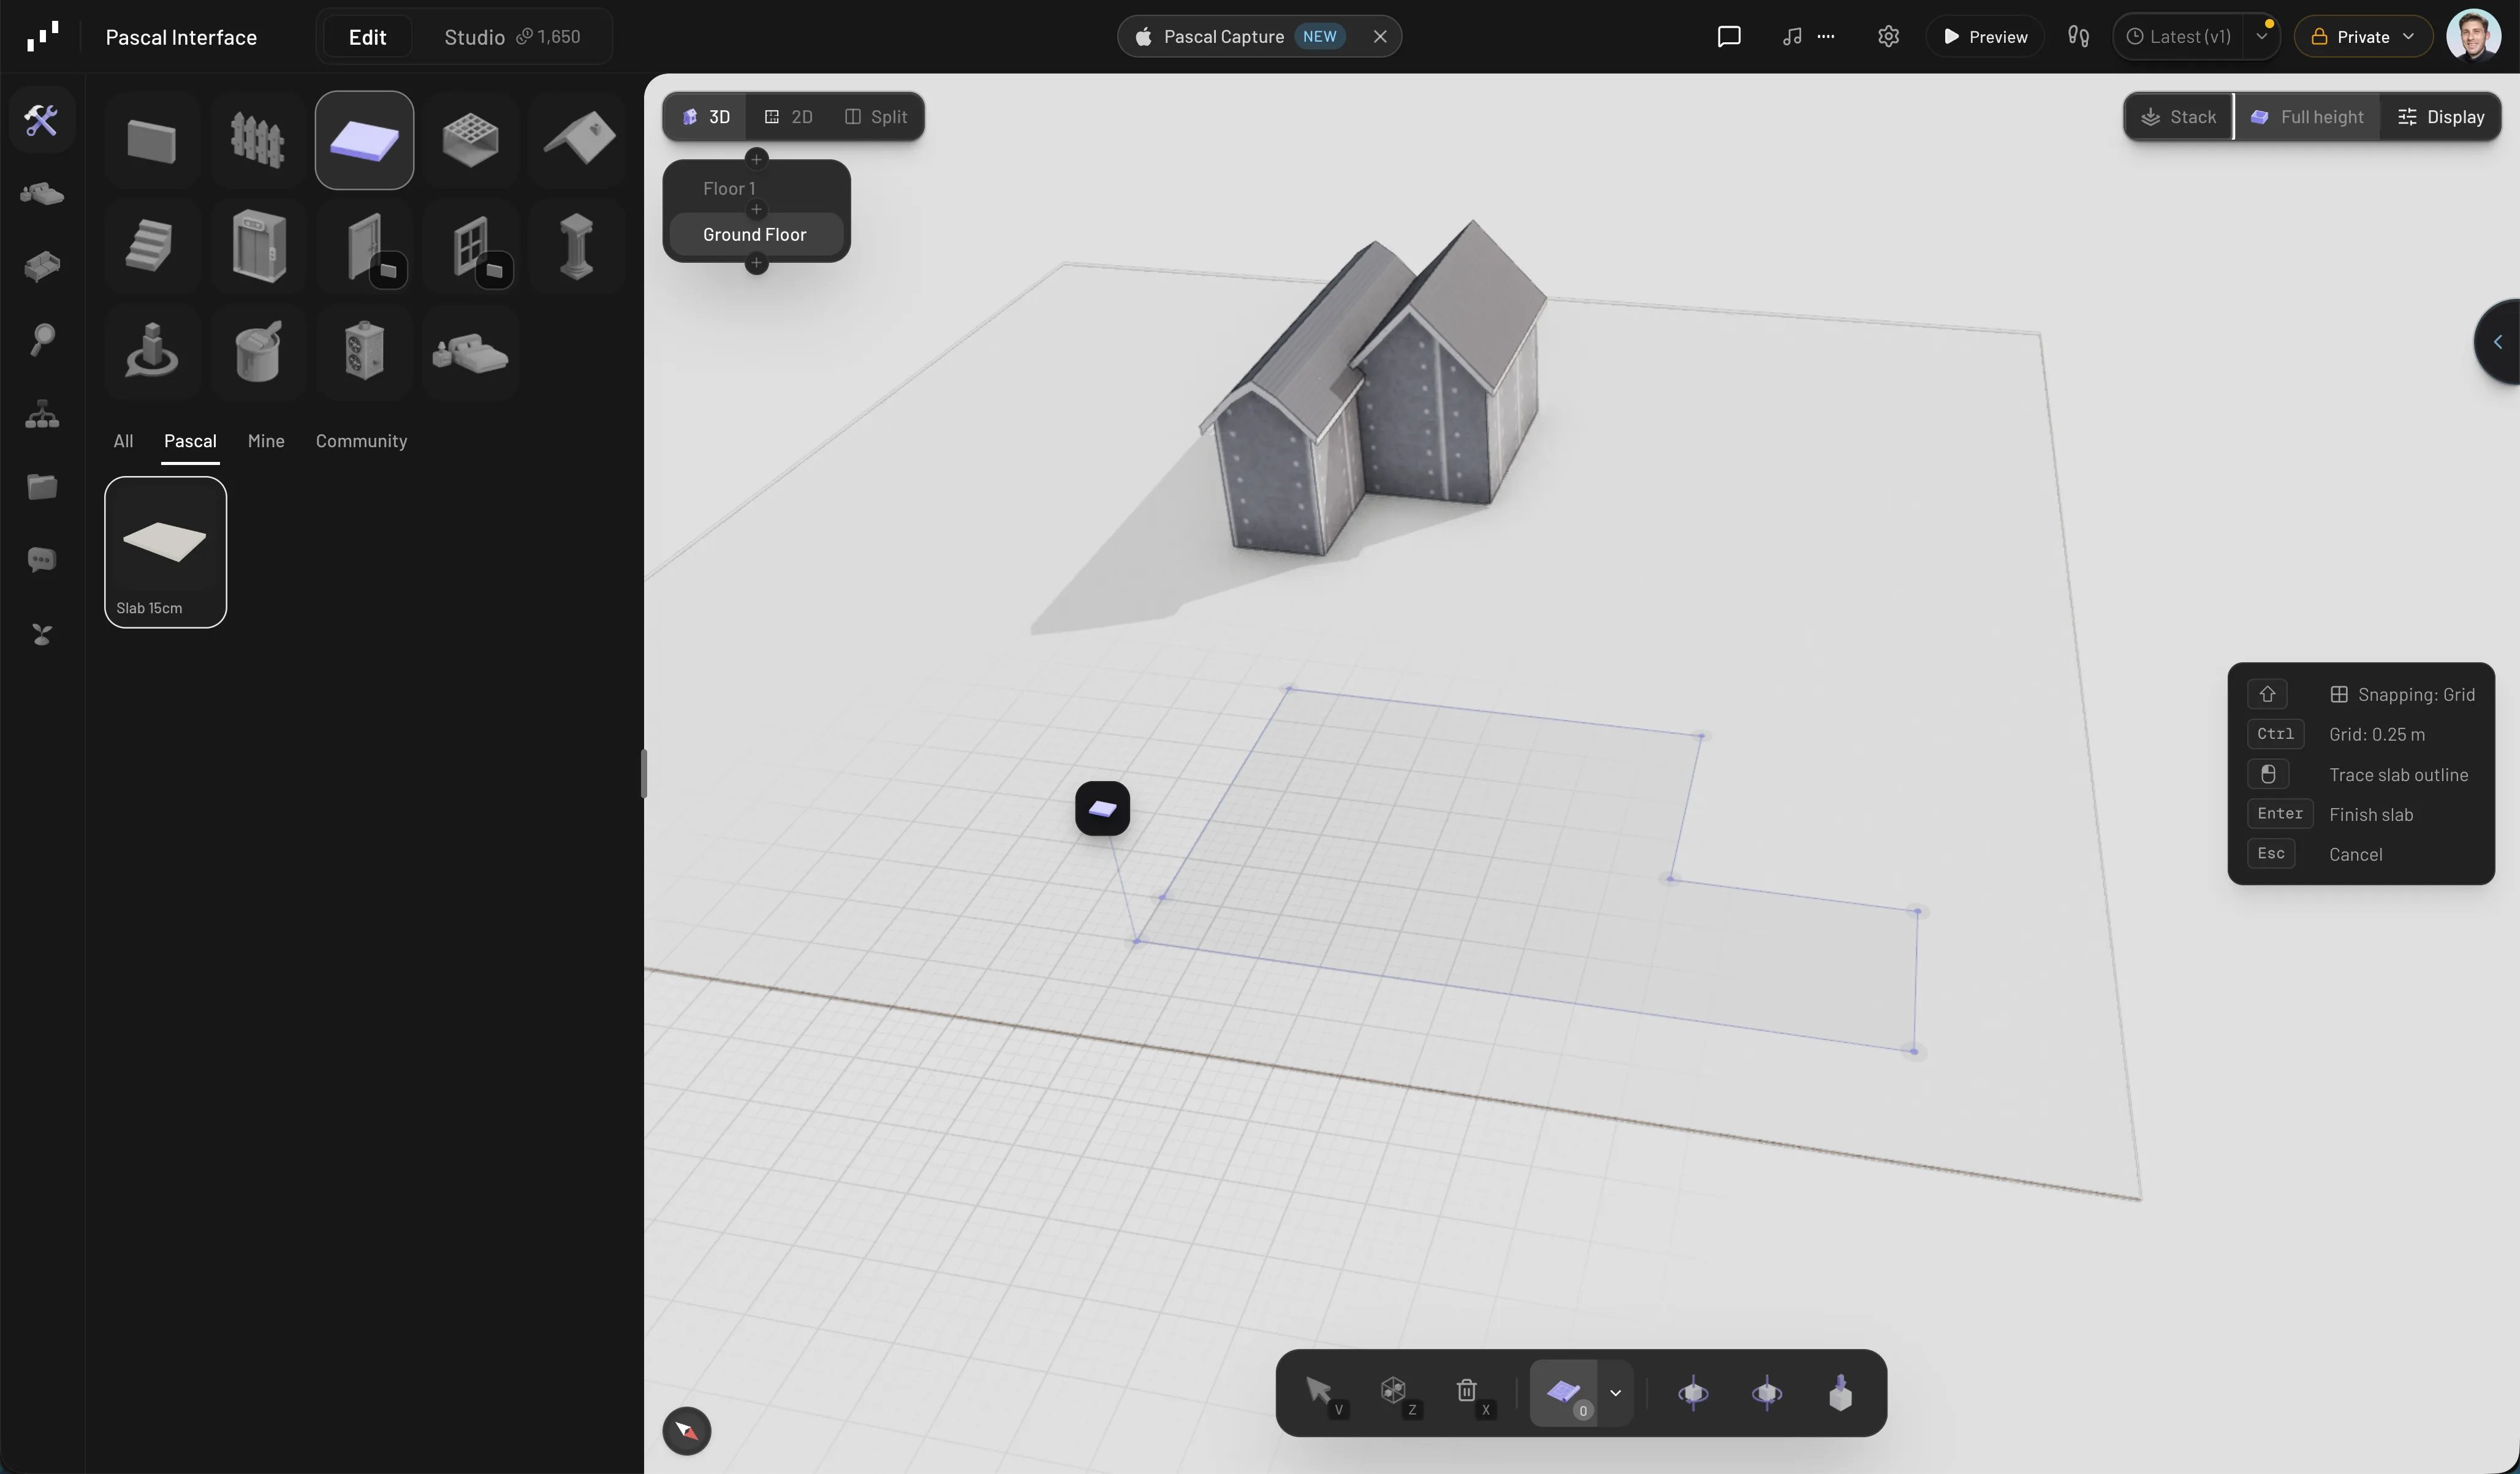
Drawing a slab by tracing its outline
Ceilings
Ceilings work like slabs: auto-generated for enclosed rooms, or drawn with the Ceiling tool using the same outline tracing. A selected ceiling has a Height slider with Low (2.4m), Standard (2.5m), and High (3.0m) presets, and supports holes the same way slabs do.Stairs
To connect levels, use the Stairs tool in the Build tab: click to place the staircase footprint, rotating it withR and T before you commit. Pascal cuts
the matching opening in the floor slab above automatically.