Build your first room in Pascal in about five minutes — draw walls, add a door and window, place furniture, and move the camera.
In about five minutes you’ll go from an empty project to a furnished room. You’ll draw
walls, cut in a door and a window, drop in some furniture, and learn how to move around
your scene.
From empty canvas to furnished room
1
Create a project
Open editor.pascal.app and sign in — with your email
(you’ll get a code and a sign-in link) or with Google. Click Create a new project
and give it a name. Under Starting point, keep Blank project for this
walkthrough — or pick one of the templates to start from a ready-made building you
can reshape. Choose Public or Private, and click Create project.The editor opens on an empty canvas. Everything you do from here is saved to your
account automatically — there is no save button to remember.
2
Draw a room
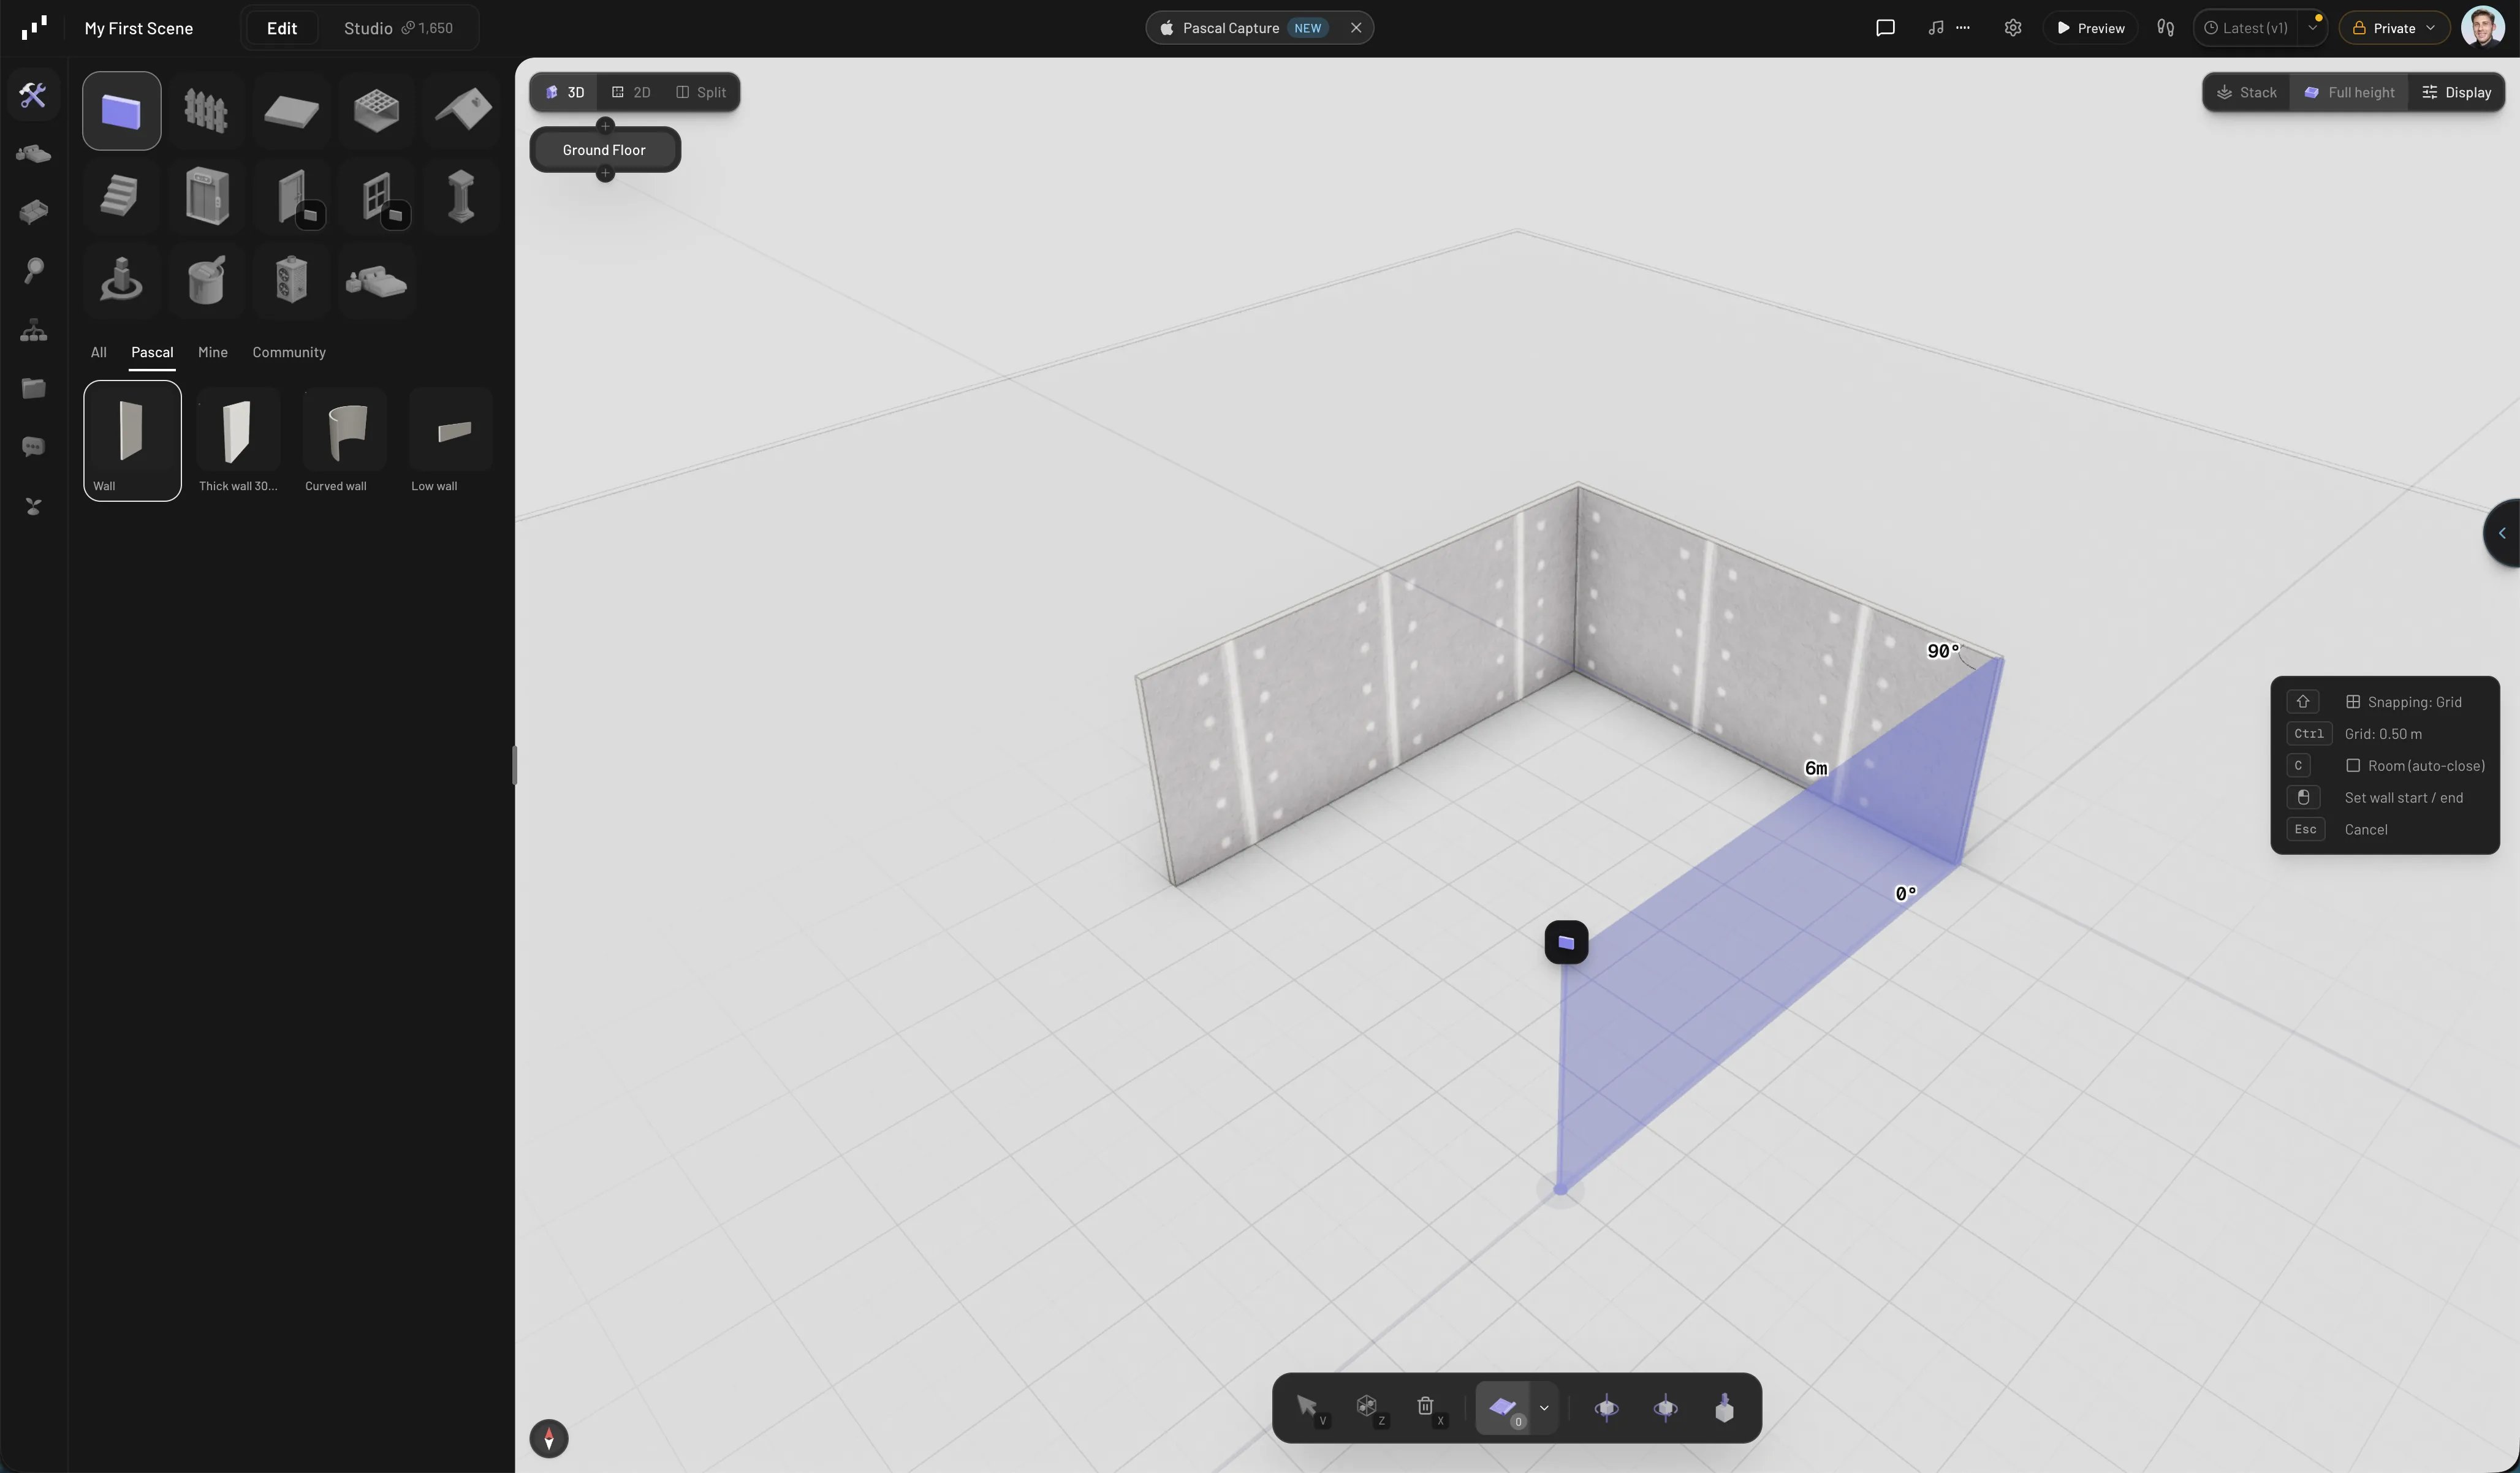
Open the Build tab in the left sidebar and pick Polygon in the Rooms
group (B opens the Build panel with Rectangle armed).Click on the canvas to place the first corner, move the mouse — a measurement label
follows the wall — and click again for each corner. Click back on your starting
corner and the loop closes into a room. When walls enclose a space, Pascal
automatically adds a floor and ceiling for it. For a plain box, Rectangle does
it in two clicks.Press Esc to stop drawing, and Cmd/Ctrl + Z if a wall lands wrong. If a corner
won’t land where you want it, tap Shift to cycle the snapping mode — Grid,
Lines, Angles, or Off — shown in the helper panel on the right.
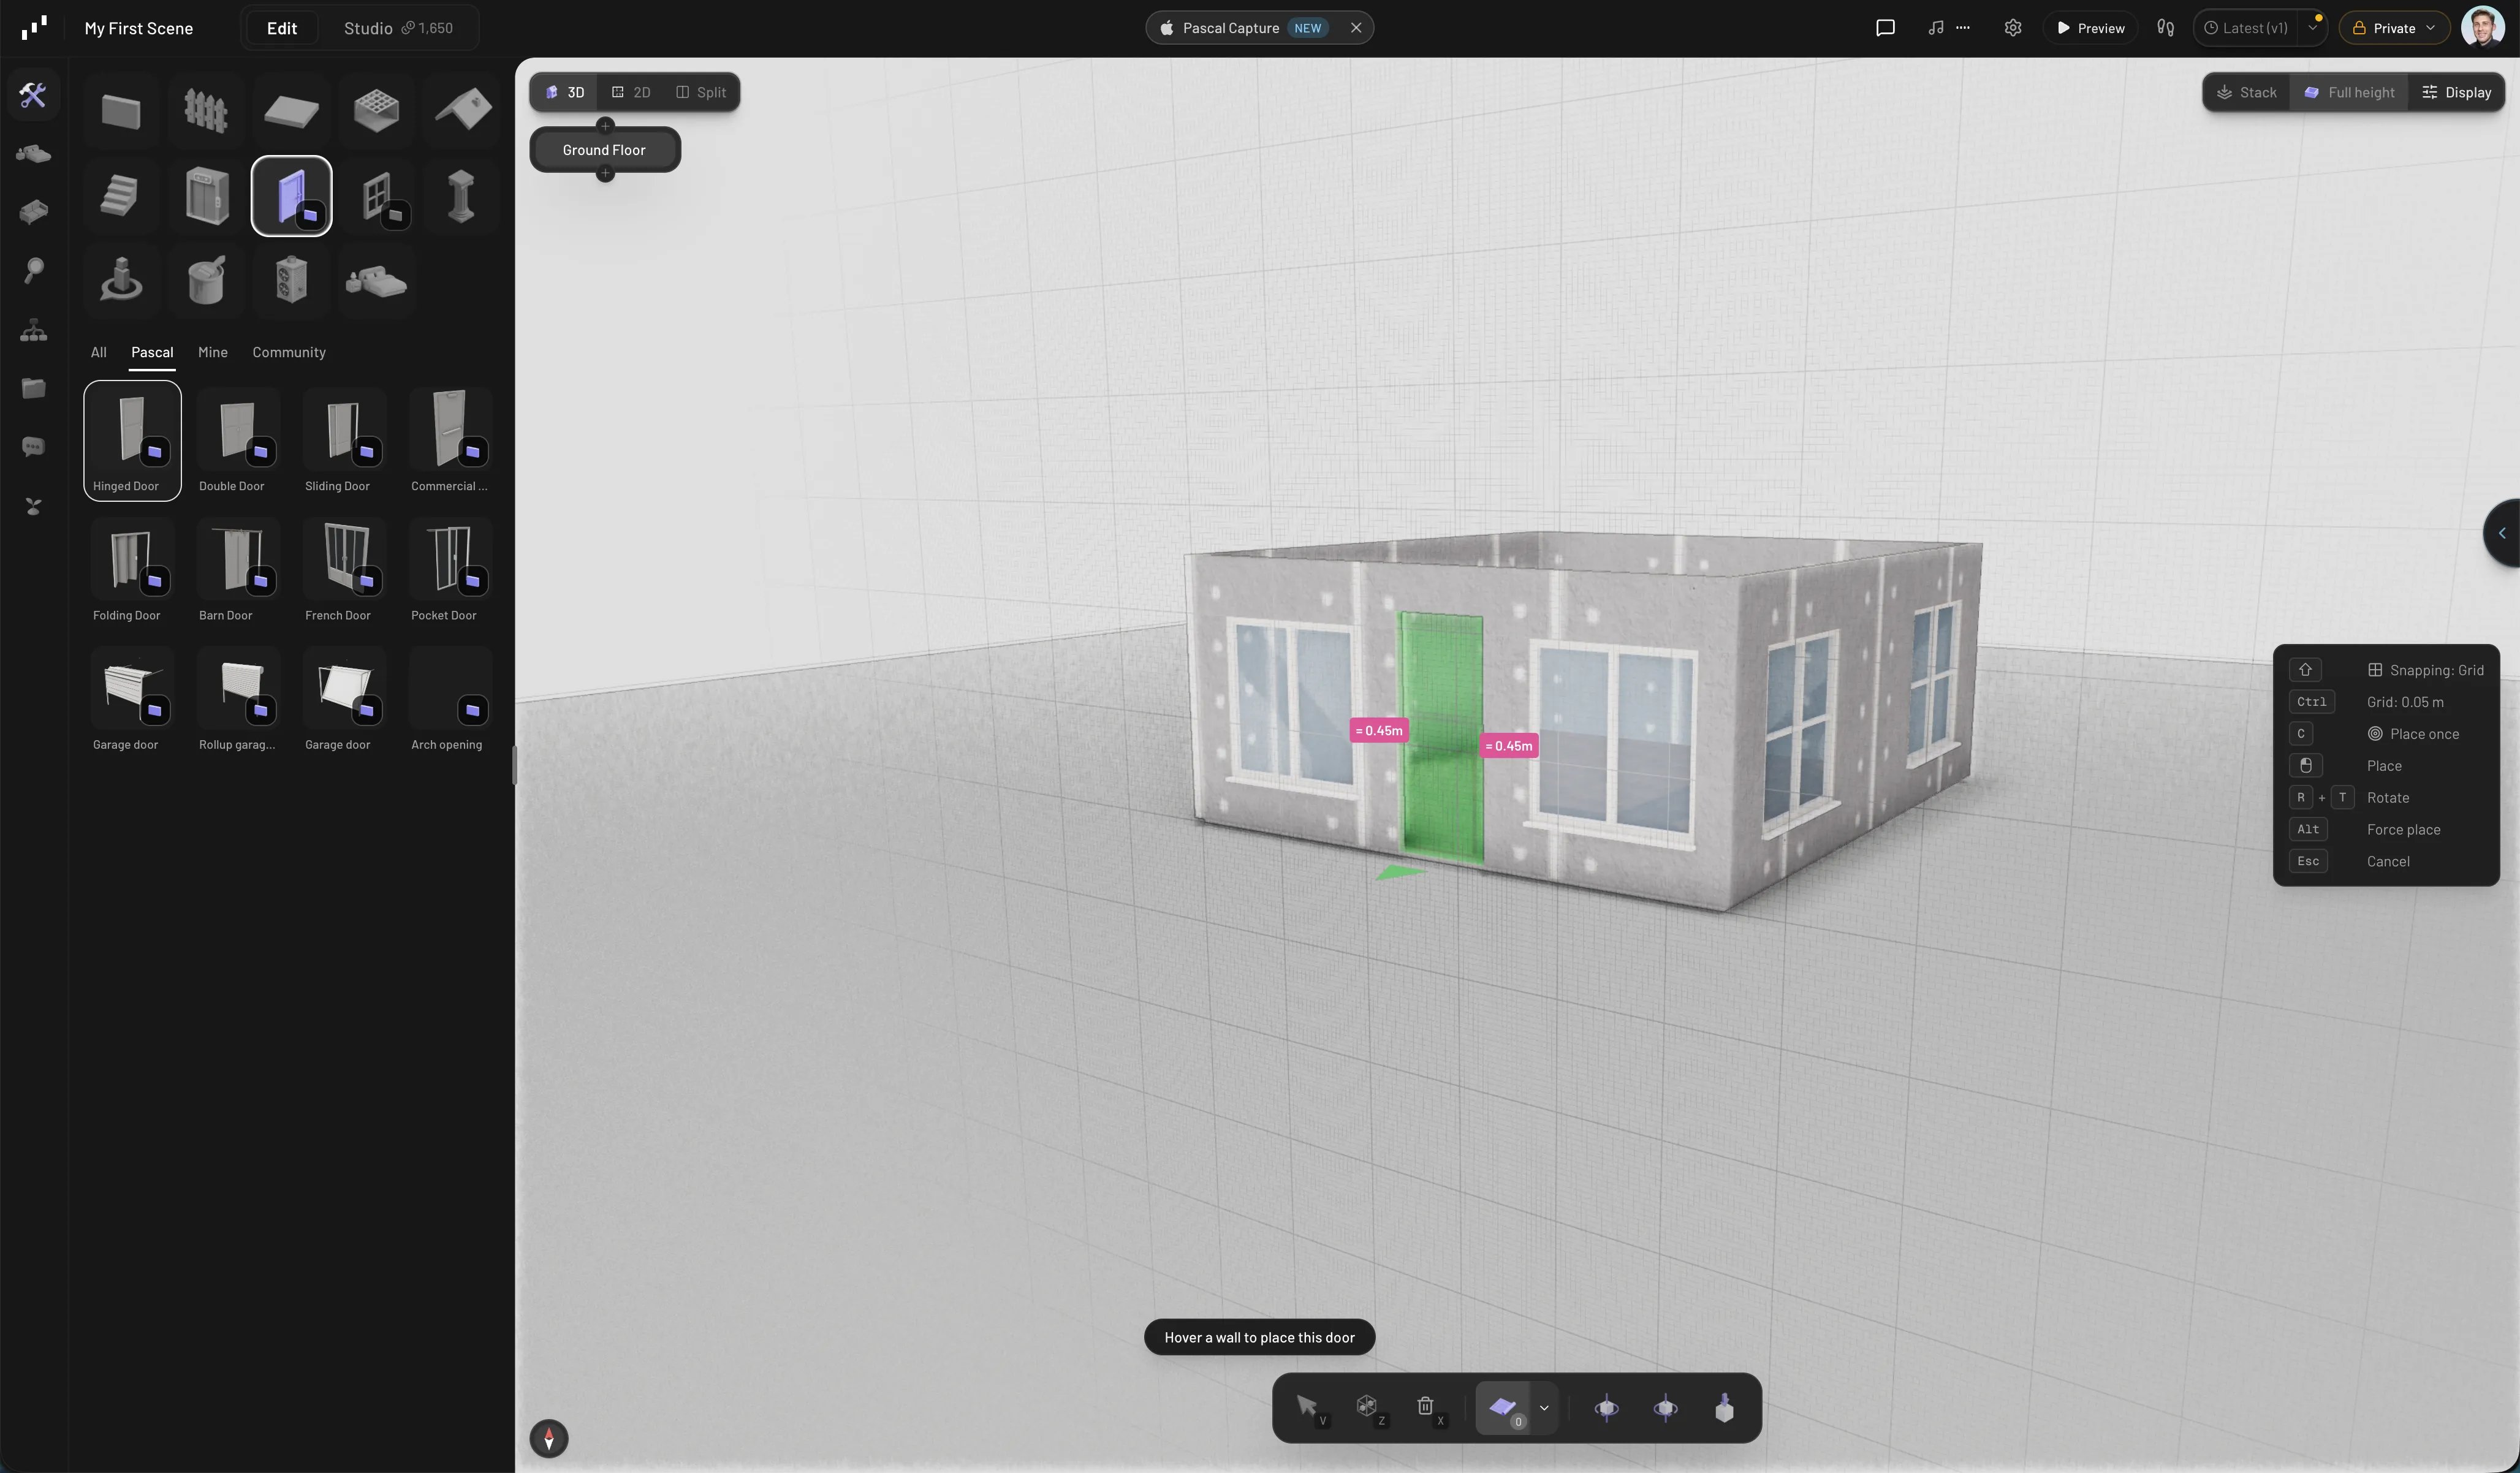
In the Build tab, click Door. A door preset attaches to your cursor and snaps
to walls — click a wall to place it. Click Window and do the same on another wall.While placing (or with the opening selected), press R to flip which side it faces.
With a placed door or window selected, press E to swing it open and closed.
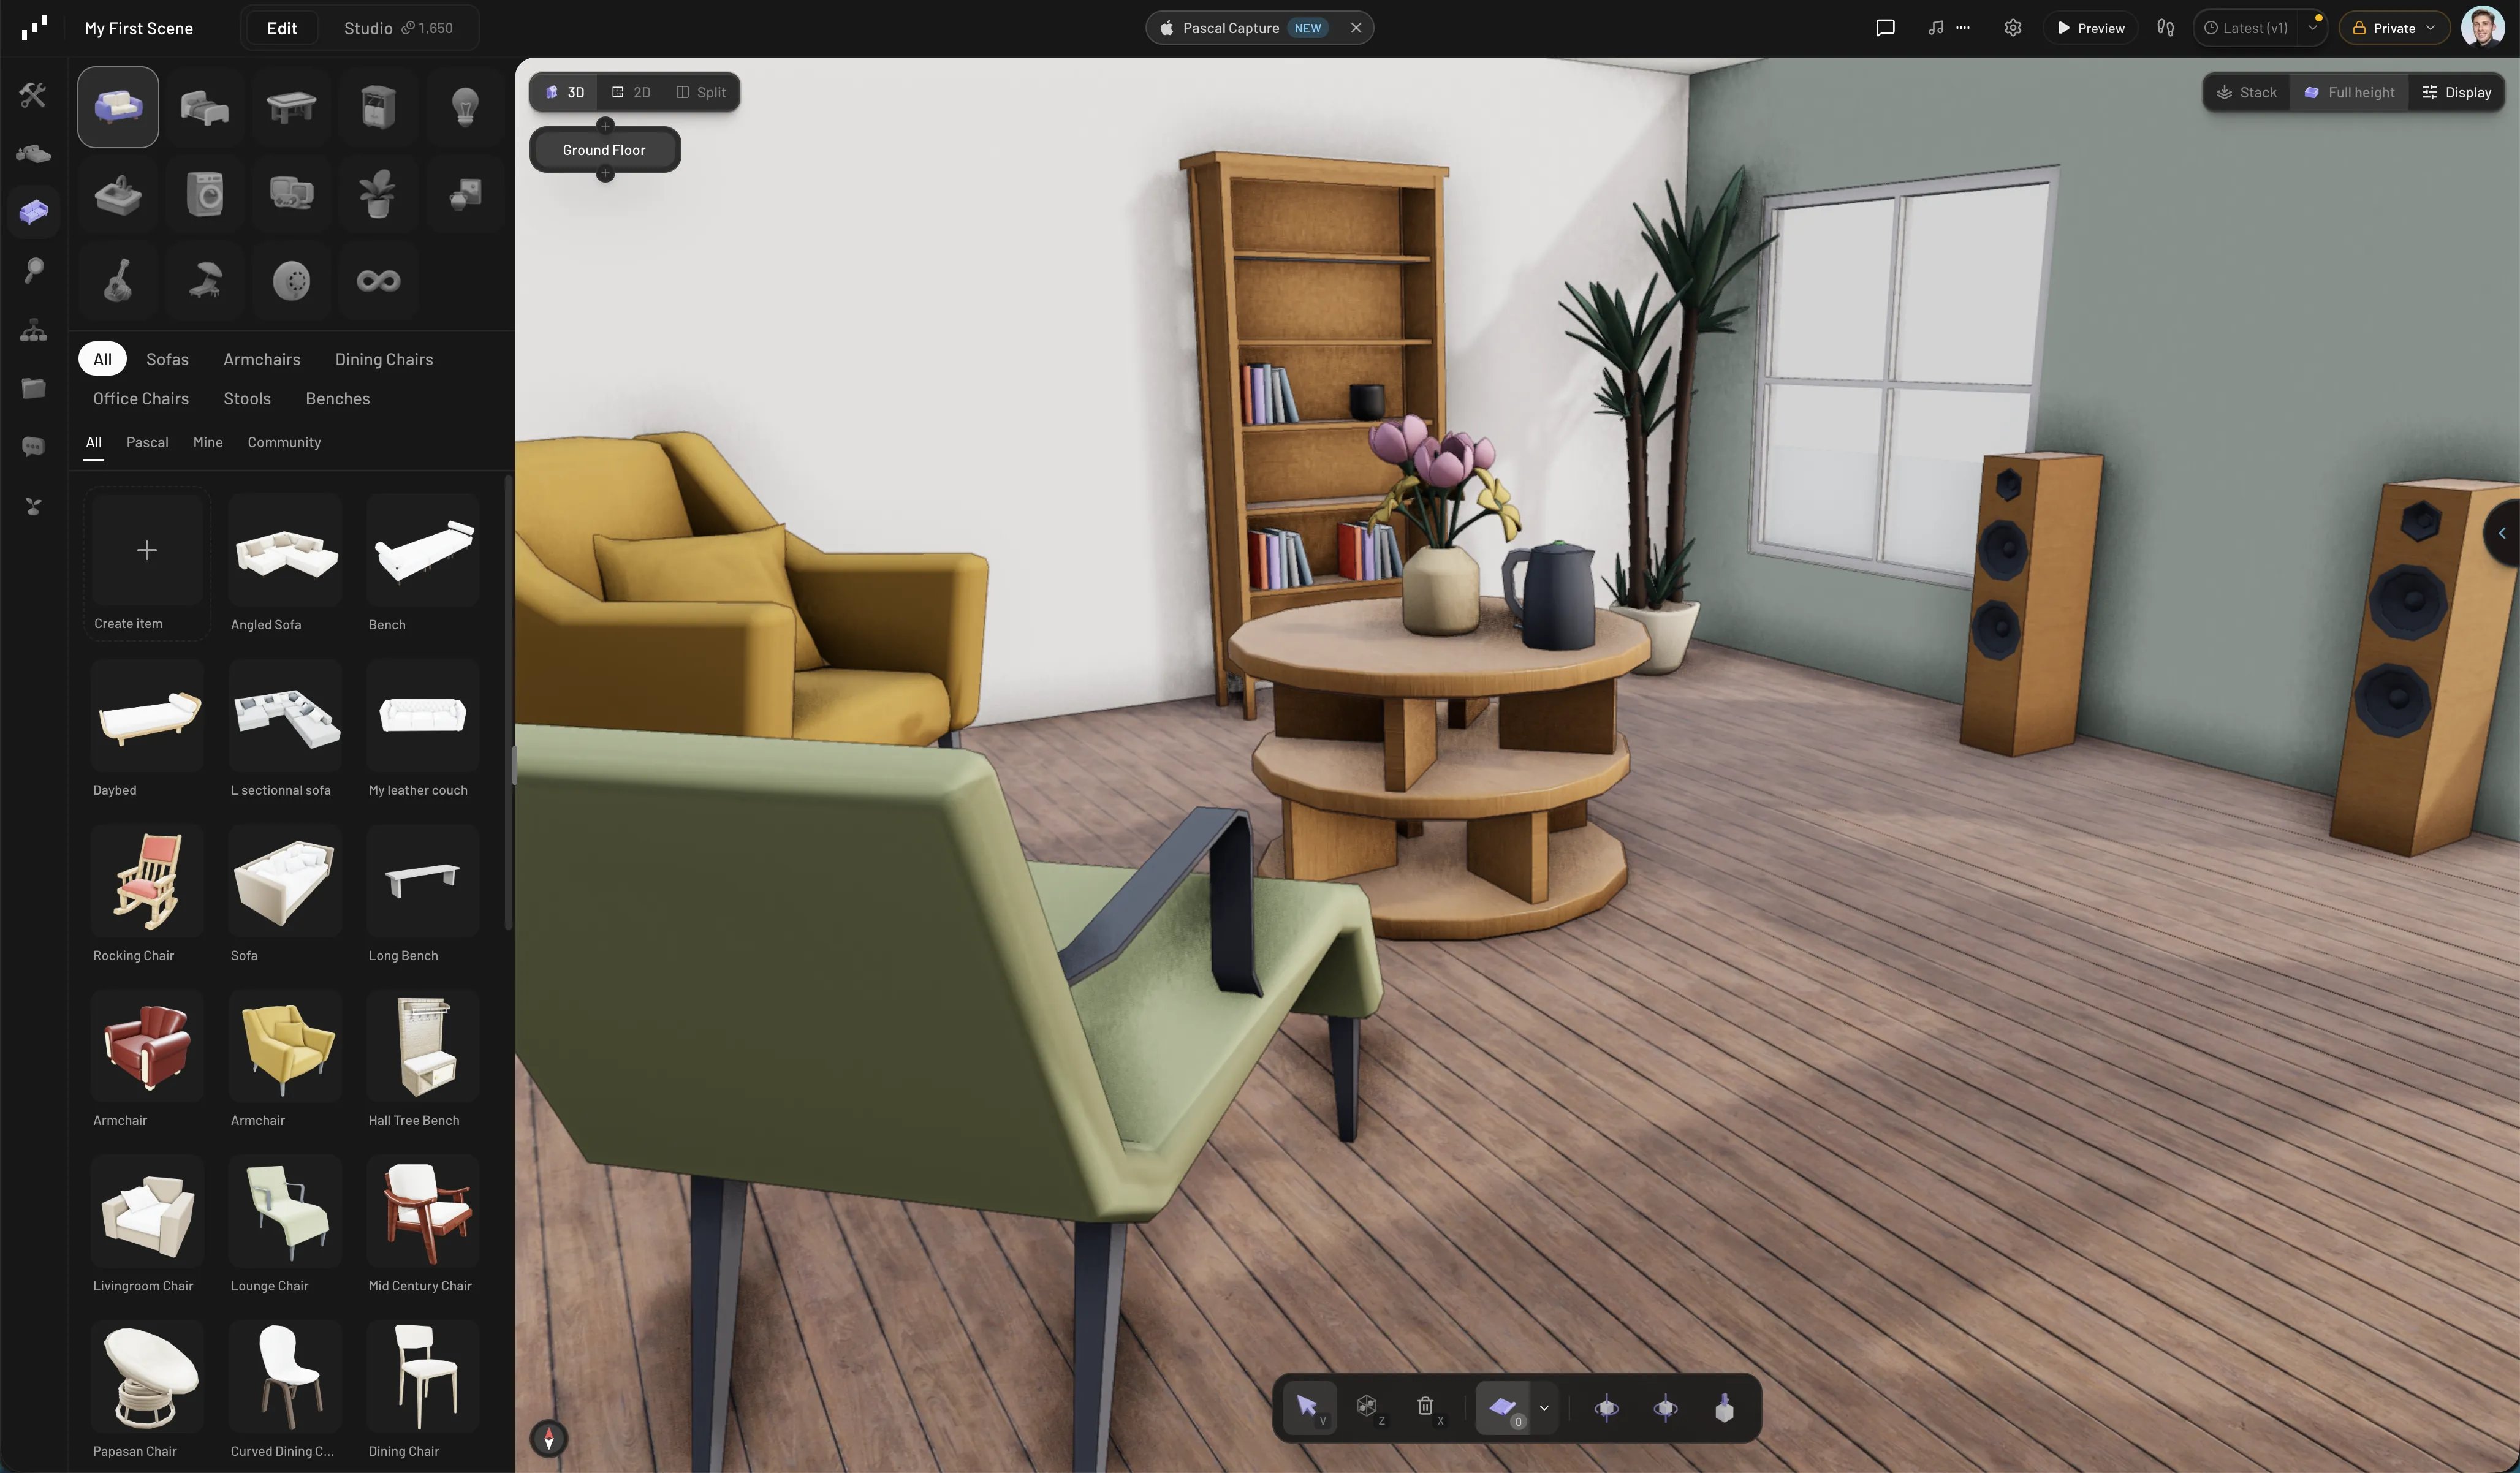
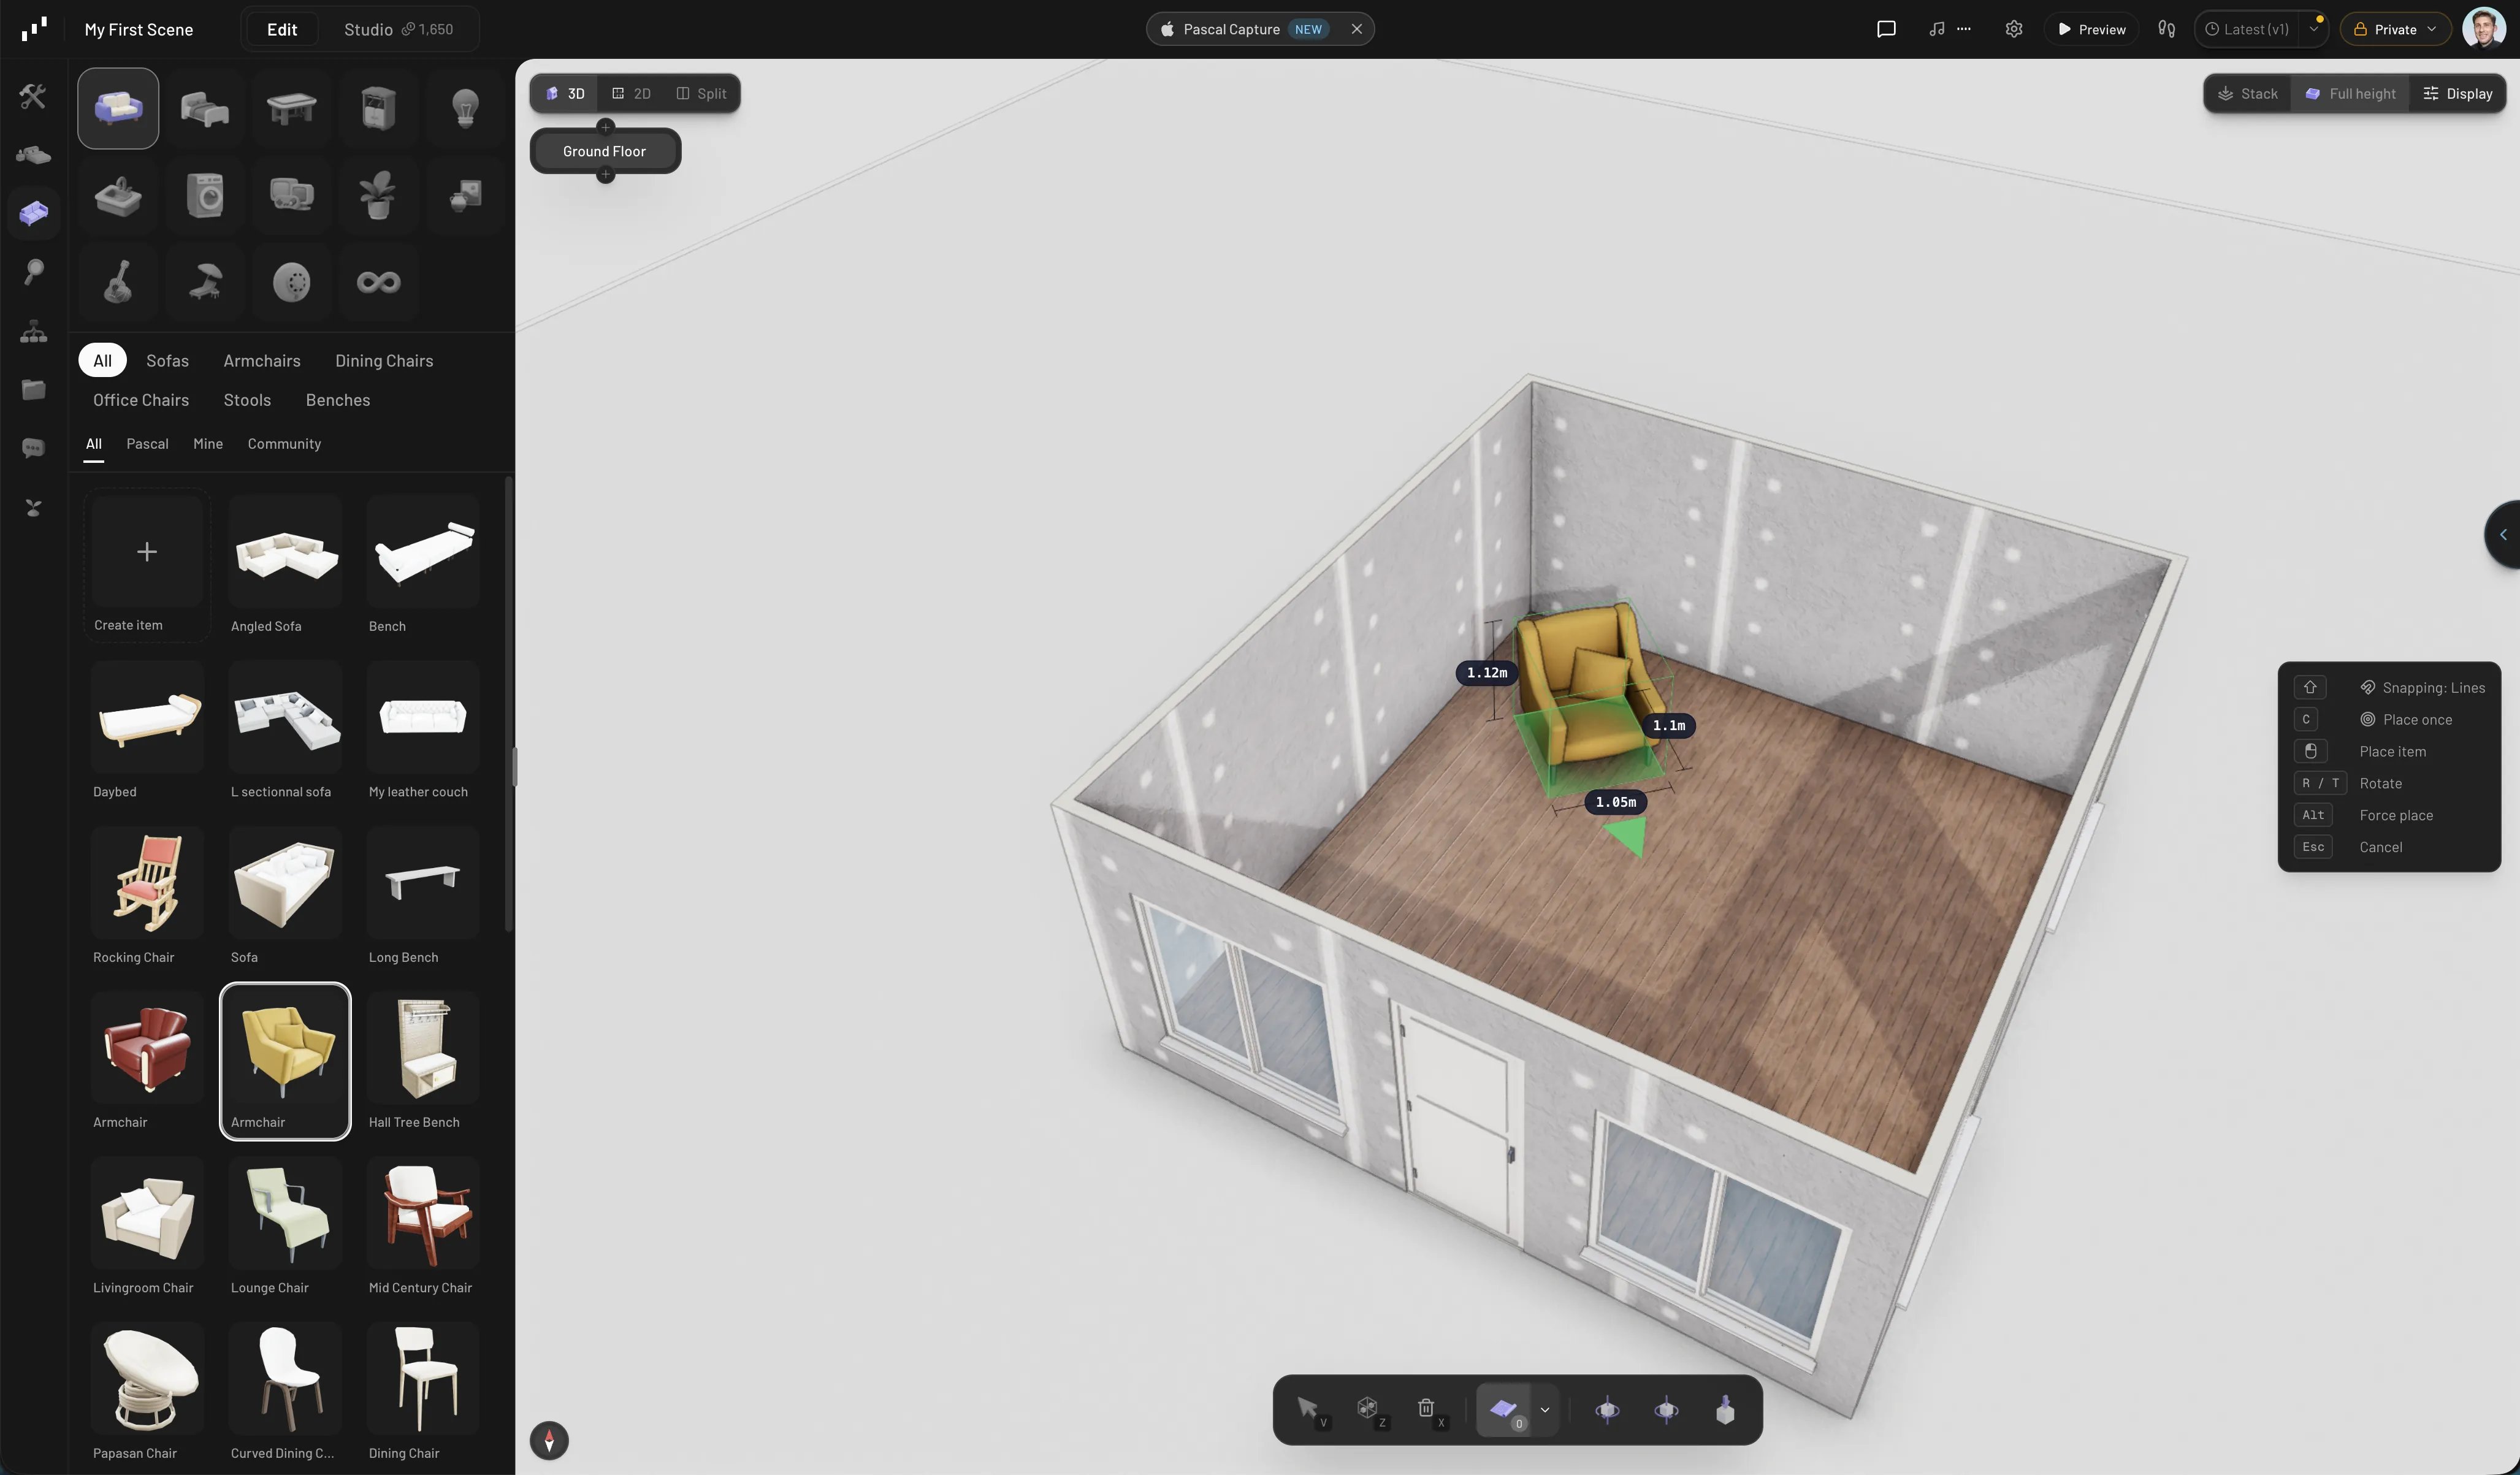
Open the Items tab (or press F). Pick a category, then click an item — it
attaches to your cursor. Click inside your room to place it. Press R and T to
rotate it in 45° steps before or after placing, and Esc when you’re done.
Pan — drag with the middle mouse button, or hold Space and drag. WASD also pan.
Zoom — scroll.
The bottom toolbar has Orbit Left, Orbit Right, and Top View buttons,
and the toolbar at the top left of the canvas switches between 3D, 2D
(floor plan), and Split views.
6
Your work is already saved
Pascal autosaves to your account about a second after every change. The version
control in the top bar also lets you click Save to pin a named version you can
come back to or publish later.If your project is Public, anyone with the link can open it in the viewer — no
account needed on their side. Manage that from the Share button in the top bar,
and see Sharing your work.
Take the interface tour to learn what every panel
does, or keep the keyboard shortcuts reference
handy while you build. Rebuilding your actual home? Put its floor plan under the grid
with guide images instead of guessing your walls.